This article describes three ways to add Google Analytics tracking code to your WordPress website.
It’s not enough just to have a good-looking website. There is still much work to be done after that.
One of these is visitor tracking. This is one important thing that cannot be ignored. Otherwise, you won’t know what the source of your traffic is or how your content is performing.
Tracking your visitors is not the most difficult task as it can be done with the help of Google Analytics.
However, adding Google Analytics to your WordPress website can be a bit complicated as there are multiple ways to do it.
This can be done manually, via a plugin, or with the help of Cloudflare. We’ll walk you through the exact steps to add Google Analytics using these different methods, but first we’ll detail why you should install this service. 🙂

Why do I need Google Analytics?
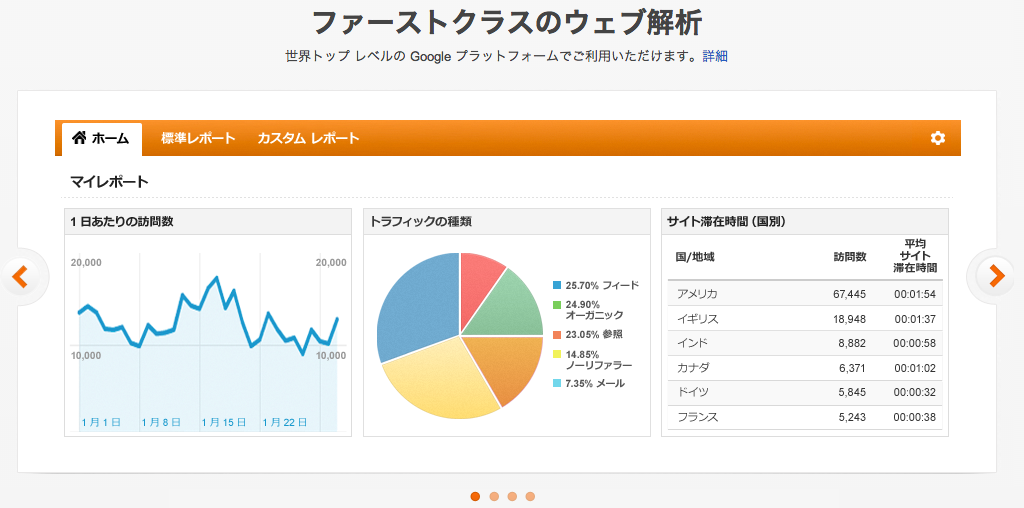
First of all, Google Analytics is a service that helps you understand what’s driving traffic to your website and better understand your customers. Within the Service, we include tools that allow you to dig deeper into insights and assess the overall performance of your website, which then allows you to serve your users better.
Without a tool like Google Analytics, you wouldn’t know data such as which countries get the most traffic, what devices are being used, what pages are being visited, and how long people spend on your website. You can’t properly identify whether your SEO results are paying off or not.
There are many other tracking tools out there, but you may not want to use any of them as Google Analytics is definitely the most accurate. What’s more, it’s completely free.
Let’s see how to add them…
There are several ways to add Google Analytics to your WordPress site, which are explained below with detailed instructions.
Create a Google Analytics account
First, let’s prepare the settings for Google Analytics. No matter which option you choose, a tracking code is required. Therefore, this is a prerequisite.
Step 1: Set up your Google Analytics account
Visit the webpage and sign in using your desired Gmail account.
Then press the “Start measurement” button to proceed.
Here you need to enter your account name. You can use any name you like, such as a website name or a personal name.
You can process analytics for multiple websites from a single account, so enter a name that won’t confuse you. Once that is done, leave the box checked and press the “Next” button.
Since you want to track a website, you must select the “Web” option.
This step requires you to enter information such as your website name and the time zone for your report.
Now you’ll see this “Terms of Use” pop-up window. Please read it briefly, check the box, and then click “Agree”.
This completes the account setup process.
Step 2: Get your Analytics tracking code.
Assuming you’re signed in to your Google Analytics dashboard, click the Admin tab on the left.
Then click Tracking Information > Tracking Code. Now all you have to do is copy the huge code under “Website Tracking”.
Your Google Analytics code is now ready to use.
You can then choose your preferred method for adding it to WordPress.

manually
If you don’t want to install another plugin just to add Google Analytics to your site, doing it manually is a good option.
However, please note that it’s not as practical as doing it using a plugin, and you may also lose your code when changing/updating the theme in the future. If you are happy with this, please proceed to the steps below.
Once you’ve copied your tracking code, go to your WordPress dashboard and click “Theme Editor” under “Appearance.”
You need to go to the “header.php” section and paste the tracking code just before the closing “</head>” tag.
Note: Don’t forget to create a backup before proceeding with this step in case something goes wrong.
Once you’ve pasted the code, click Update File and you’re done.

Using plugins
If you don’t want to risk adding Google Analytics to your site manually, you can use a plugin to do so safely and easily. This is my personal favorite method, so I highly recommend it. In fact, I think most people use this method. If you want to avoid unnecessary hassle, you should too.
You can use any plugin you like for this method, but here are two of my favorites.
The first is the ” Insert Header and Footer ” plugin. Here are the steps:
Step 1: Install the plugin.
Go to your WordPress dashboard, select Plugins > Add New, and type “insert header and footer” in the search bar.
Click “Install Now” to activate. It’s already installed, so you know it’s active.
Step 2: Copy and paste your tracking code.
In this step, simply copy the tracking code from your Google Analytics dashboard and paste it into your plugin. To do this, look for Insert Header and Footer in the Settings tab on the left side of your WordPress dashboard.
Click on it and you’ll see something like this:
Now you need to paste the code in the box under “Script in header”. All done with this plugin.
The next plugin we’ll discuss is MonsterInsights. Very reliable and widely used. Additionally, you can track your visitors and view insights directly from your WordPress dashboard. Please follow the steps below to set it up.
Step 1: Install the plugin.
As usual, go to your WordPress dashboard and click Plugins > Add New. Then type “MonsterInsights” in the search bar.
When the plugin appears, click Install Now and then Activate.
Step 2: Set up.
Before you can start using Google Analytics on your WordPress site via MonsterInsights, you must first set up the plugin.
Find “Insights” on the left side of your dashboard and click “Settings” below it. A page like this will be displayed.
Click “Connect MonstersInsights” and you will be taken to the Google Account login page. Enter your information and click Next.
A permissions page will appear where you need to click on “Allow”.
congratulations! Once all steps are complete, Analytics should start working.

cloudflare
The final option is to use the Cloudflare app . There are many third-party integrations that can extend the functionality of Cloudflare services, including Google Analytics. To set up using this method, follow these steps:
Step 1: Get your Google Analytics tracking ID
You need to be logged in to your Google Analytics account and go to Admin > Tracking Info > Tracking Code. Look for this shortcode that starts with “UA”.
I’ll copy it for now.
Step 2: Add the code to your Cloudflare app
First, log in to your Cloudflare account (or register if you don’t have one) and add your domain name to it. Then click on “Apps”.
Type “Google Analytics” in the search bar and click on the app when it appears. Click the Preview on Site button and enter the Analytics tracking ID you copied.
Then click “Install” to complete the process.
If you’re using Cloudflare, it makes sense to use this method because you don’t have to worry about configuring plugins or manually editing theme files.
conclusion
Look, there it is! We hope this makes it easy to add Google Analytics to your WordPress website.


![How to set up a Raspberry Pi web server in 2021 [Guide]](https://i0.wp.com/pcmanabu.com/wp-content/uploads/2019/10/web-server-02-309x198.png?w=1200&resize=1200,0&ssl=1)

")


 in Roblox")
")


")


")


")
