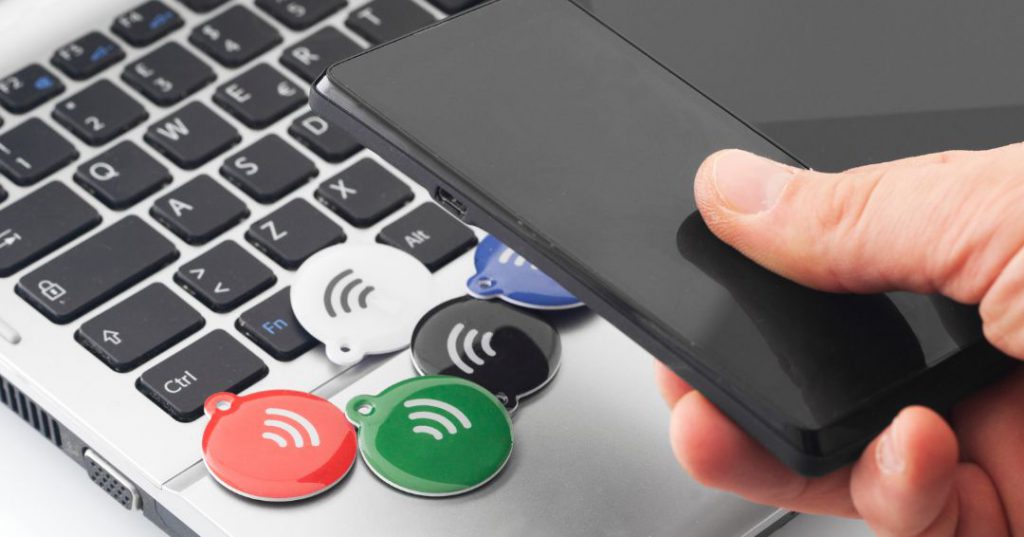
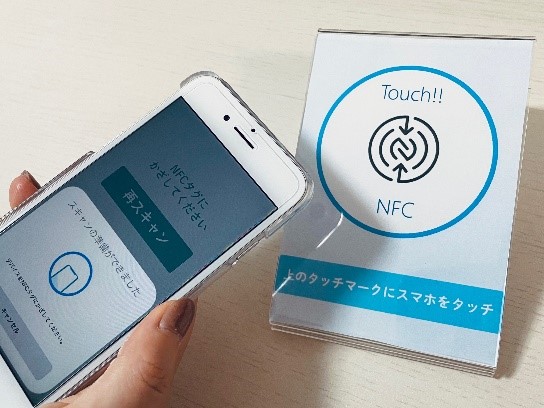
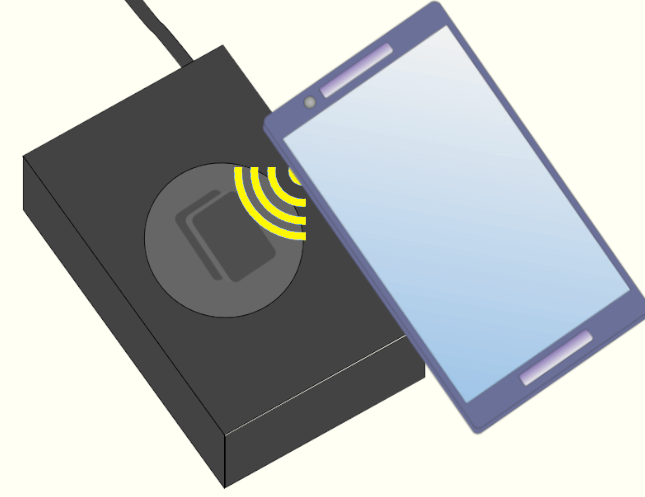
NFC tags are small passive devices that can be used to transfer data to an NFC-enabled Android smartphone when you approach the tag. These are very useful if you want to automate repetitive tasks. While it’s entirely possible to automate your Android smartphone without using NFC tags, NFC tags also provide an easy way to automate. So, if you have an NFC-enabled Android smartphone, here are 8 unique ways to use NFC tags on your Android smartphone.
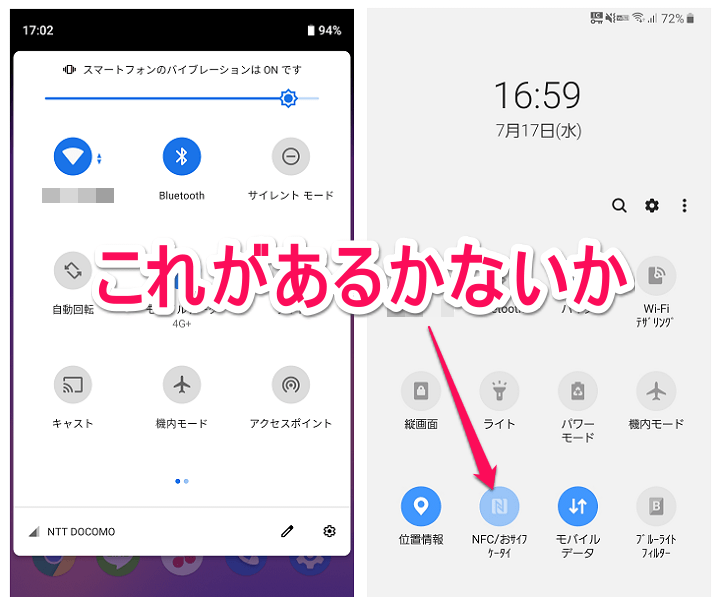
Note: Of course, you need an Android smartphone with NFC capabilities. Check out our article on how to check NFC support on your Android phone.
1. Allow guests to access your WiFi network
One of the best uses for NFC tags I’ve found is to automatically connect guests to your WiFi network. You no longer have to constantly tell people your (possibly complicated) passcode to your home WiFi. Just tap your smartphone to the NFC tag and voila! they are connected. To do this, follow these steps:
- Download and launch the InstaWiFi app. Now select the SSID (name) of your WiFi network and the type of security you are using (probably WPA2).
- Once you’re done, just make sure you have your NFC tag and tap Write to Tag . Tap your phone on the NFC tag and it will write your WiFi details.
That’s all you need. Now, every time a guest comes over, they can simply tap their NFC-enabled device to the NFC tag and it will automatically connect to your WiFi network.
2. Drive people to your website or YouTube channel
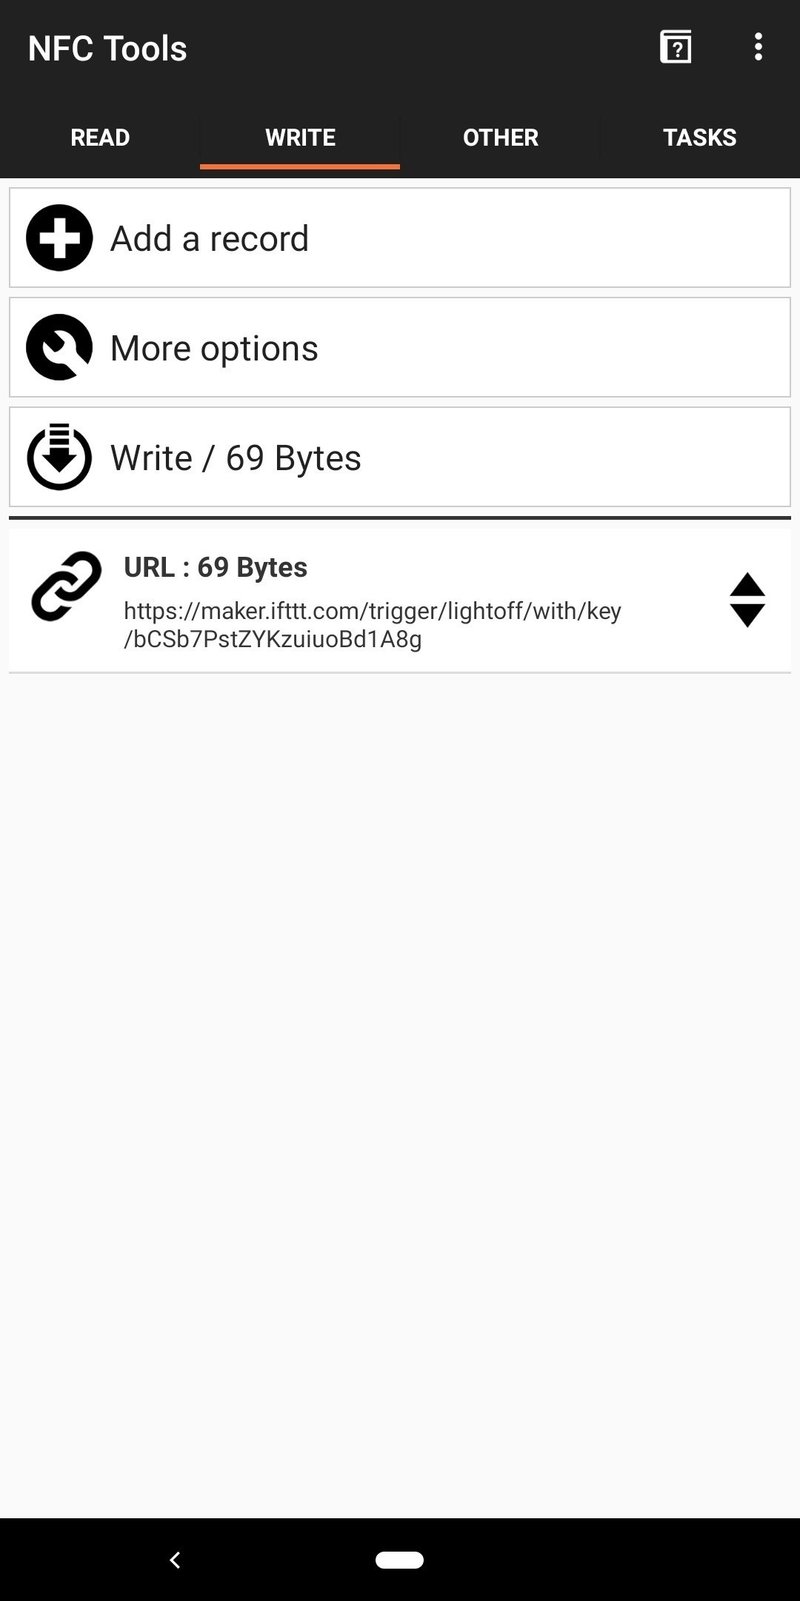
If you’re a content creator on YouTube or have a personal website that you want people to easily access, you can also use NFC tags to do that. All you need is an app that can write to NFC tags. There are many apps available, but we recommend NFC Tools ( free ). It’s incredibly easy to understand and use. Once you download the app, you’ll be able to do a lot of things with your NFC tags. If you want to direct people to your website, just follow these steps.
- Launch the app and tap ” Write .” Now tap Add Record .
- Select ” URL/URI ” and enter the address of the website you want to be directed to. You can also enter the full web address of your YouTube channel here.
- When finished, tap OK . Then tap Write and tap the NFC tag you want to use on your phone.

Once that’s done, you’re ready to go. Anyone with an NFC-enabled device can scan your NFC tag and be automatically directed to the URL you enter. You can explore the app further and use the options provided to do even more with your NFC tag.
3. Clear the alarm
If you’re like me and always snooze your alarm, this is definitely useful. Apps like NFC Alarm Ultra ( free ) allow you to set your alarm to only go off when you scan a specific NFC tag with your phone. So you can place this NFC tag anywhere you have to stand up to access it. To do this, download NFC Alarm Ultra and follow the steps below.
- Launch the app and switch to the ” Alarms ” tab. Now tap the “+” button to set a new alarm.
- The app will ask you to add a new NFC tag. Tap Add Now , then tap the NFC tag you want to use on your phone. Once your phone recognizes the NFC tag, tap Continue .
- Add the alarm you want to create and make sure the box next to NFC only is checked.

That’s it. To stop the alarm when it goes off, you need to scan the NFC tag with your phone. Now stick the NFC tag somewhere away from your bed.
4. Create car mode
If you drive to work or school every day, this will definitely be of great help. You can program your NFC tag to automatically set your phone to the perfect settings you need for your car. With NFC tags in your car, you can enable Bluetooth, start Android Auto, start your music player, and basically do anything you want your phone to do. Here’s how to set this up:
- Download and launch MacroDroid ( free version , only 5 macros). Tap ” Add Macro ” and select NFC tag as ” Trigger ” on the next screen.

- In the dialog box that appears, select Create new tag , then tap OK . Enter a name for your tag. Something like “Car” might be best.
- Scan the NFC tag you want to use. A pop-up will appear that says ” NFC tag has been configured .”
- Then select the action you want your phone to perform. In my case, I turn on Bluetooth and launch Google Maps and Google Play Music. So first select “Bluetooth Settings” and tap ” Toggle Bluetooth “. By doing this, when you get out of your car, it will scan your NFC tag again and automatically turn off Bluetooth as well.
- Return to the action screen and select ” Launch Application ” this time. Select “Google Maps” from the list of applications. Select “Force new creation” and tap “OK”.

- Add another action to launch the application, this time selecting “Google Play Music” .
- Tap the check mark at the bottom right of the screen. Next, you will be given the option to add constraints. These are optional, so just tap the checkmark again.

Once you stick the NFC tag on your car, every time your phone touches it, it will automatically launch Google Maps, Play Music, and turn Bluetooth on and off . It may seem a bit tedious to set up, but it will save you a lot of time.
5. Create home mode
Similar to car mode, you can also create home mode. You can put an NFC tag on your door and basically program your phone to configure it perfectly. You can adjust the notification volume and turn on WiFi. Plus, if you want, you can text someone to let them know you got home safely. Here’s how to set it up on MacroDroid:
- Launch the app and tap Add Macro . Select ” NFC tag ” as the trigger and set the NFC tag.

- On the Actions page, select Change Volume and adjust the toggle to the value you think is appropriate for your home.
- Next, add another action. Select ” WiFi Settings ” and tap ” Enable WiFi “.
If you also want to send a text, just add another action and select Send SMS . Enter the number you want to send the text to and the message content, then tap the checkmark in the top right corner of the screen.

- When you return to the ” Actions ” screen, tap the check mark at the bottom right. Do the same thing on the constraints page.

- Enter a name for your macro. “Home” is probably suitable for most people.
Scan the NFC tag with your phone to automatically enable WiFi and send a text to whoever you want. It’s surprisingly easy and will quickly become part of your daily routine.
6. Create a bedside profile
Another smart way to use NFC tags is to automatically put your phone into the best sleep mode. By placing an NFC tag on your bedside table, you can lower the notification volume, set an alarm, or increase the alarm volume. To do this, follow these steps:
- Launch MacroDroid and create a new Macro . Select NFC Tag as the trigger and scan for the NFC tag you want to use to trigger this macro.
- Next, add a ” Change Volume ” action and set the volume meter to the desired value . Make sure your alarm volume is loud enough to wake you up.
- Next, add an ” Alarm Clock ” action and set the alarm time .
Once you’re done, just save your macro and you’re good to go. Sticking this NFC tag on your bedside table or wherever you keep your phone at night will ensure that your alarm is set and you won’t be disturbed by notifications while you sleep.
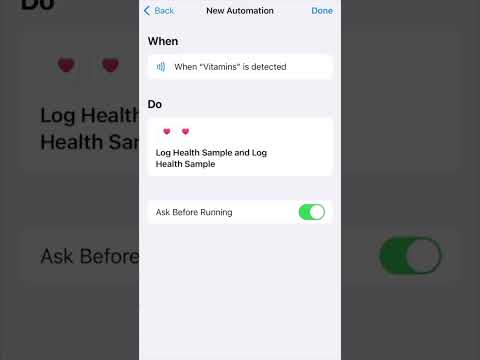
7. Log entries for repetitive tasks
We all have lots of tasks we do on a regular basis. This might mean removing limescale from your washing machine or replacing the filter in your air purifier. And if you tend to forget when you last replaced your air purifier’s filter and don’t want to keep writing it down, you can use an NFC tag to automatically add an entry to your calendar. Here’s how to set this up:
- Launch the MacroDroid app and add a new macro. Select “NFC Tag” as the macro trigger and scan for the NFC tag you want to use.
- Then, under Actions, select Calendar – Log Events . Now select the calendar you want to record your event on and give your event a name.
Once done, simply tap the checkmark to save the macro. You no longer need to manually write down the last time you changed your air purifier’s filter, as you can simply tap your phone to an NFC tag and it will automatically record an entry in your calendar.
8. Share your contact details
If you wish, you can also use NFC tags to share your contact details with anyone you wish. It’s very easy to set up and is definitely an easy way to share contact details for businesses and other similar applications. To set this up, follow these steps:
- Launch the NFC Tools app and switch to the “Write” tab . Now tap Add Record .
- Select Contact from the list of records. Enter the details you want to share and tap OK .
- Now, tap Write and tap the NFC tag you want to use on your phone.
You have successfully configured your NFC tag to share contact details. When an NFC-enabled Android smartphone approaches an NFC tag, it automatically receives contact details as a vcard that can be saved directly to your phone or Google Account.
bonus:
1. Share files using NFC
You can also use NFC to share files with another NFC-enabled Android smartphone. To do this, just download an app called “ Easy NFC File Transfer ”. Using this app on your phone, you can select the files you want to send to the other device and share them by simply tapping the two devices together.
Download Easy NFC File Transfer from Play Store (Free)
2. Use Dimple.io’s custom NFC button
Dimple.io is a website that sells NFC buttons that stick on mobile phones. These buttons can be programmed to do whatever you want and activate that task with a simple press of a button. The buttons are sold in packs and can be ordered from the website.
Buy diple.io NFC Button (starting at $14.99)
SEE ALSO: 15 Best Ways to Use Your Old Android Phone
Automate everything on your Android phone using NFC tags
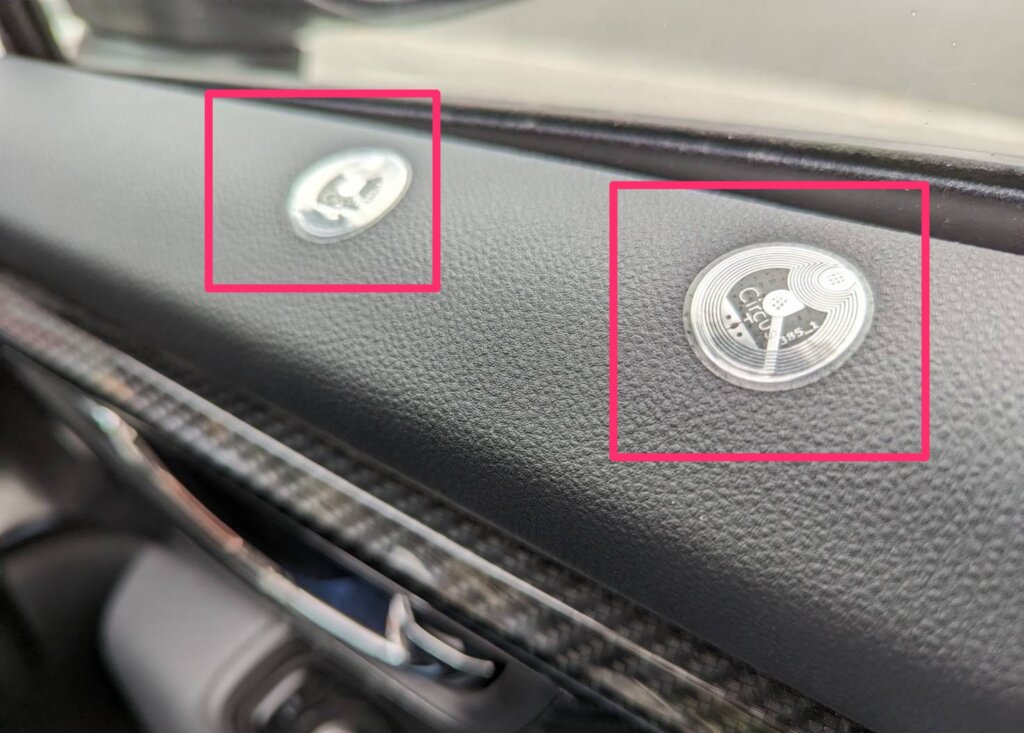
NFC tags are very easy to program and very affordable. NFC tags can be easily purchased from Amazon. There are various types, and prices vary depending on capacity and adhesive strength.
So, are you using NFC tags on your Android smartphone? If you don’t already have one, now is a good time to start. If you have and know of other great ways to use NFC tags, please feel free to share them in the comments section below.


![How to set up a Raspberry Pi web server in 2021 [Guide]](https://i0.wp.com/pcmanabu.com/wp-content/uploads/2019/10/web-server-02-309x198.png?w=1200&resize=1200,0&ssl=1)

")


 in Roblox")
")


")


")


")
