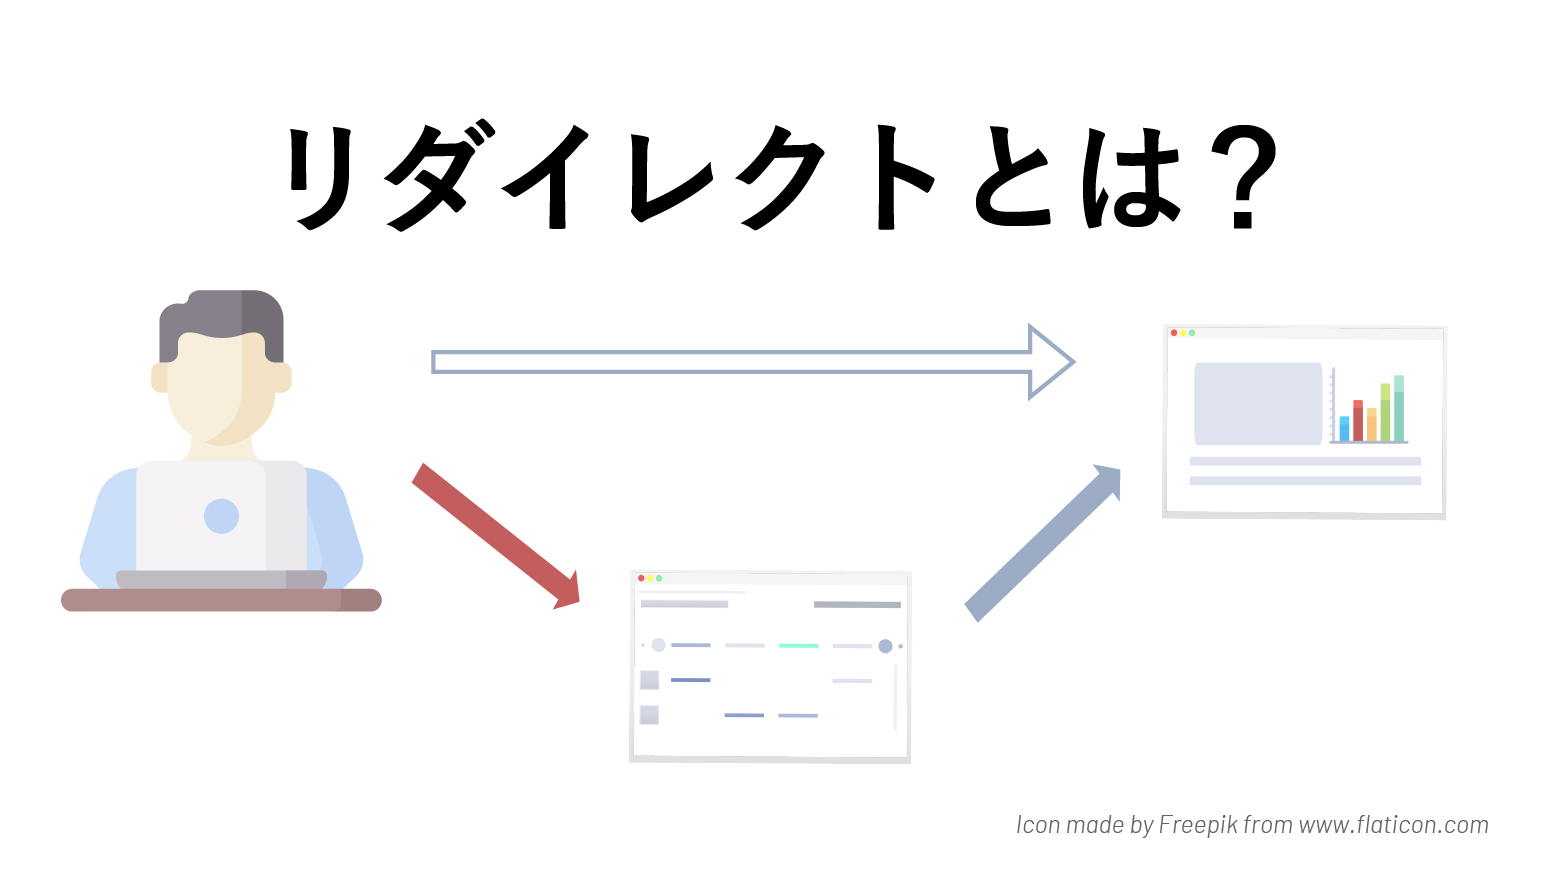
Redirects on your website are like helping lost visitors get where they want to go.
Imagine this. I moved my website to a different URL. In this scenario, how do you tell your visitors that you have already moved?
Some frequent visitors may have seen updates about it or previous threats. But the majority of them will have no idea.
This is where redirects, especially 301 redirects, come in handy. If a visitor enters the old URL, they will be automatically redirected to the changed URL.
If you want to learn more about 301 redirects and how to use them, check out our complete beginner’s guide to 301 redirects.
What is a 301 redirect?
A 301 redirect is an HTTP signal code that permanently redirects one URL to another.
There are many reasons to use 301 redirects. The most common reason websites use this is when moving a website to a new URL or when a page is deleted.
So when someone types in the old URL, they are instantly redirected to the new URL that contains the content they were looking for.
Along with the content, the 301 also redirects the same ranking features that the old URL originally had.
When it comes to 301 redirect SEO, it communicates with search engines to notify them of changes.
This tells search engines that the content that was previously here has been moved elsewhere. However, since nothing else has changed, the position on the SERP should remain the same.
This means 301 redirects won’t ruin your rankings or SEO performance.
Another thing about 301 redirects is that you can avoid 404 error pages. Every time you delete a page, entering the URL will take the user to a 404 page. Instead, a 301 redirect takes the user to a new location.
The 301 redirect process is so fast that users won’t notice the changed URL unless they see it. Even if a user has bookmarked an old URL, the bookmark will be updated to the latest URL after a 301 redirect.
Creating a 301 redirect is very easy. No coding knowledge is required and you can use WordPress plugins to do the job (more on this later).
Let’s look at some scenarios or situations where you need to add a 301 redirect.
When to implement 301 redirects?
#1. After URL change
There are several cases where URL changes may be necessary due to improper optimization or changes to the page hierarchy.
Typically, only some CMSs automatically add a redirect to the URL when you change it. Therefore, check your URLs after updating to see if they are already using 301 redirects.
#2.After creating a new website
Most servers now open sites without www in front of the domain name. If not, you need to add a variation of your domain URL as follows:
- http://yoursite.com
- http://www.yoursite.com
- https://yoursite.com
- https://www.yoursite.com
Use 301 redirects to ensure that all redirects go to the same page.
#3. After adding SSL certificate
Requires an SSL certificate. Without this, your website may become a victim of infringement or infringement by third parties. Adding an SSL certificate and HTTPS connection will make your website more secure.
Therefore, if your website URL changes from http://domain.com to https://domain.com, you will need to add a 301 redirect.
#4.Recreate the page
There are some instances where you may need to recreate an entire page with a new theme or layout changes. In that case, the old page URL should be redirected to the new page URL to maintain SEO performance.
#5.Moving from one domain to another or merging domains
Suppose you have changed domains or have two domains that you want to merge. Redirecting pages containing 301s is a must. Your content and SEO efforts can be inherited without having to start over.
If you are using 301 redirects in any of the above cases, you should also have some understanding of the 301 redirect SEO implications for your pages.
What impact do 301 redirects have on SEO?
When discussing 301 redirect SEO, it is important to remember that everything written about SEO is informed by the experience and results of taking specific actions.
The fact is that Google never reveals its algorithms and how different things affect SEO.
Going back several years, our testing and experience with multiple users showed that using 301 redirects can cause you to lose some ranking power.
Specifically, this video from Google Search Central hinted at a drop in page rankings of around 10%.
Google, being Google, didn’t reveal the exact numbers in order to keep their algorithms secret, but most people believe the numbers are accurate.
Luckily this was a few years ago and hasn’t happened since. You can use 301 redirects without compromising your web page’s SEO performance.
Just remember to configure your 301 redirects correctly and don’t create multiple hops. Once there are 4 or 5 hops between URLs, the bot will stop tracking the URL and the page will no longer be scanned. Therefore, your SEO will decrease.
Multiple redirects tend to slow down loading speeds, which is also an important factor in SEO rankings.
So feel free to use 301 redirects. Do not create redirect chains and use them correctly.
How to perform a 301 redirect – step-by-step guide
You can add 301 redirects in different ways for different cases. Learn how to add 301 redirects for general use and affiliate links.
In both cases, we’ll show you how to do it with the WordPress CMS, which is the most popular solution for many web developers.
For general use
Ideally, you should redirect the page through your server for the fastest and most reliable redirect. The only problem with this method is that it requires a deep understanding of the software stack that the server uses.
For example, Apache, Nginx, IIS, or other platforms require you to learn and understand the approach to adding 301 redirects.
Therefore, we recommend using plugins in WordPress.
This tutorial uses the redirection plugin by John Godley. It is available for free and has a UI that is easy to use even for beginners. Here are the steps to add a 301 redirect:
Step 1: Download the plugin
Go to the Plugins section from the WordPress menu and click Add New .
Search for ” redirect” in the search bar.
Once the results are displayed, select the next plugin result and click Install .

Once the installation is complete, click Activate .
Step 2: Go to the plugin page
After installing and activating the plugin, you need to optimize it according to your needs.
To go to the plugin page, go to the Tools section and click Redirect .

Once you are on the plugin’s page, complete the first-time setup and complete the installation.
Step 3: Add URL details for the 301 redirect
The final step is to add a 301 redirect to the URL. To do so, click the Add New button at the top left of the plugin page to open the redirection popup. It will look like this:
There are three main things you need to add here:
- source URL
- HTTP code for redirect (301 redirect)
- Target URL
If you are not an expert, we recommend that you do not change any other options or fields in the popup.
If you don’t see the HTTP code option, click the gear icon next to the Add Redirect button. However, the HTTP code defaults to a 301 redirect.
Once all fields are filled in correctly, simply click Add Redirect to complete the redirect.
Now that you know how to add a 301 redirect for general use, move on to adding the same for affiliate redirects.
For affiliate redirects
For affiliate redirection, use the ThirstyAffiliates plugin.
ThirstyAffiliates is a great tool to manage all your affiliate links. For now, we’ll focus on 301 redirects using the lite version of this plugin, which is free to use.
First, download and install the plugin by following the same steps as above. Type “ThirstyAffiliates” in the search bar, install and activate it.
Then just go to the “ThirstyAffiliates” section, which can be accessed from the menu. Once you are on the plugin page, you can add your affiliate link using a 301 redirect by following the steps below.
Step 1: Open the new link pop-up and enter basic details
First, click on the New Affiliate Link button to open a popup.

Now add the title of your affiliate link and the destination URL, which is your affiliate link page.
After filling out these two fields, you can also add an image if you wish.
Step 2: Choose link settings
To add redirect details, you need to scroll down until you see the Link Options section in the right sidebar.

Here you can select the options you want for how the link behaves. For related purposes, you must select Global (301) from the Redirect Type option.
Once done, scroll back up and click the Save Link button to finish the step.
Now you know how to add 301 redirects for general use and affiliate redirects.
It’s also worth mentioning that you can always use a 301 redirect checker to ensure that your redirects are accurate and working.
This is only to audit any issues or mistakes you may have made with the options or URLs.
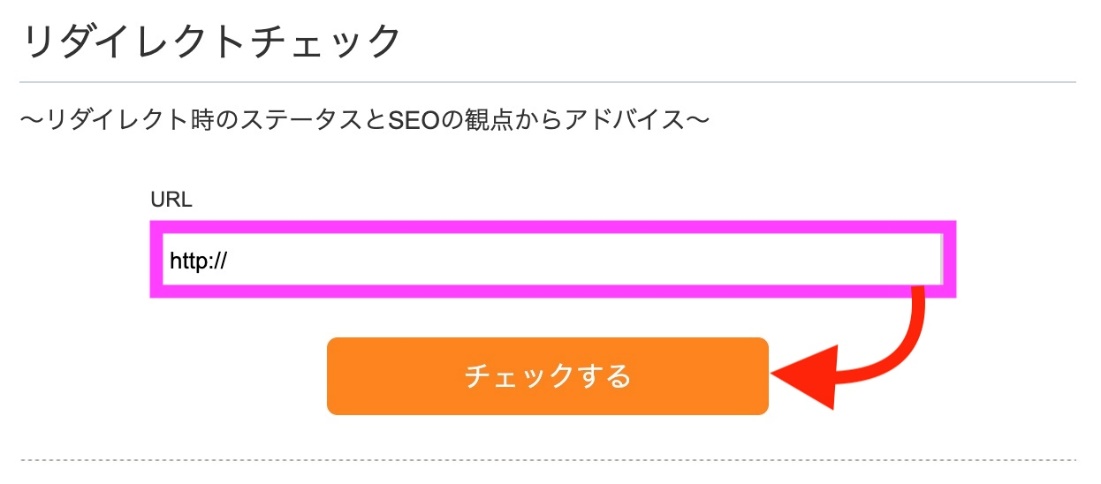
How can I check for redirects?
URL redirect checker allows you to check whether the status of your site is normal or if there are any errors.
To use the redirection tool, simply enter your website’s domain name and click Run Test.
This tool loads your site’s redirect status in seconds.

Things to avoid when implementing 301 redirects
Now that we’ve covered everything you need to know about 301 redirects and how to use them, it’s also important to understand what not to do.
301 redirects can negatively impact your SEO if you’re not careful. Therefore, avoid the following mistakes:
#1.Creating a redirect chain
As mentioned earlier, redirect chains are bad for SEO.
If you have multiple 301 redirects chained together, your SEO performance may suffer because Google bots will stop tracking the redirects after 5 jumps.
The exact impact this has on performance is a reduction in loading speed. Google and visitors have to wait longer to reach the destination URL, which can increase your website’s overall bounce rate.
#2. Adding 301 redirects to outdated or irrelevant content
If you add 301 redirects to old content pages, you won’t be able to resolve your visitor’s queries in the best possible way. Even worse is when the content redirects to a completely unrelated page that is not what the visitor is looking for.
This is easily spotted by Google bots, and not only will your rankings drop due to irrelevant content, but your visitors won’t necessarily be happy either.
#3.Adding unnecessary redirects
Adding unnecessary redirects strengthens your .htaccess file. As a result, every time your website loads, all redirects are checked to see if the URL you entered should be redirected somewhere else.
This long and annoying loading time will only slow down your website for no good reason.
Avoid making these mistakes and use 301 redirects more legitimately only when absolutely necessary. That way you won’t have any problems.
FAQ
What is the basic difference between 301 and 302?
301, 302, and 300 series HTTP codes or redirects send visitors from one URL to another. The only real difference between the two is that a 301 redirect is a permanent redirect and a 302 redirect is a temporary redirect.
A 301 redirect tells the Google bot to direct a visitor from one URL to another. Canonical tags, on the other hand, indicate that there are multiple versions of a page or URL. The difference here is that the canonical tag ensures that only the original page is indexed by search engines.
There are a total of 5 redirect types.
1. 301 redirect – a permanent redirect from one URL to another
2. 302 Redirect – Temporary redirect from one URL to another
3. 303 Redirect – A temporary, one-time redirect to another URL to request a uniform resource identifier or common gateway interface.
4. 307 Redirect – A temporary redirect with the same purpose as a 303 redirect.
5. 308 redirect – a permanent redirect with the same purpose as a 307 redirect
In most cases, there are only two redirects that most users need to know about: 301 and 302 redirects. All the rest are primarily aimed at web developers.
summary
We’ve explained everything you need to understand about 301 redirects.
So if you’re planning to change your URL or move your content to another website, you’ll know what to do and, more importantly, what not to do.
You may also consider implementing HTTP to HTTPS redirection in WordPress.


![How to set up a Raspberry Pi web server in 2021 [Guide]](https://i0.wp.com/pcmanabu.com/wp-content/uploads/2019/10/web-server-02-309x198.png?w=1200&resize=1200,0&ssl=1)

")


 in Roblox")
")


")


")


")
