Here’s a quick comparison between Canva and Movavi in terms of video and image editing features. stay tuned.
Do I need to tell you how important video is? Probably not! You are already interested in these features every day and are wondering whether to choose between Movavi or Canva.
Let’s start like this. These are very different tools.
Canva has some video editing features, but it primarily works with images. Still, you can tweak video overlay elements, add effects, run animations, and do a few little things that show Canva isn’t serious about video yet.
When you come to Movavi, they flaunt “video” as the first point on their resume.
So, there is no Canva vs. Movavi debate when it comes to video editing. Because the latter is in a different league. Similarly, Canva is on a whole new level when it comes to images.
Still, I’ll try the unthinkable and compare videos and images. In the end, you will be able to clearly choose what is best for your use case.
Let’s dive in.
Movavi and Canva: for videos
To make things interesting, we’ll take one of our royalty-free sample videos (taken from Pexels.com ) and get creative with both of these tools. Indirectly, the results show potential.
Movavi video editing
The interface gives you the feel of professional video editing. That’s true. It’s packed with features typical of video-intensive tools, including color adjustments, overlays, motion tracking, slow motion, chroma key, screen detection, and LUTs.
So there’s a lot you can do with your videos through Movavi.
First, there’s a stock audio library with a decent collection of music clips and sounds.

Alternatively, you can use the interface to record or upload custom audio and video. Additionally, Movavi has its own effects store where you can explore many media assets with just one subscription.
I’ve added a few titles, but there are many presets available at no additional charge.
This is for overlaying text elements with the default animation style. Also useful for opening and end credits.
Movavi Video Editor also includes standard transition effects to start, end, or place between video clips. Again, these cover the basic transitions, and to make it even more unique, Movavi offers an effects store subscription.
Next comes filters, overlays, and LUTs. You can also choose from these and apply multiple effects.
You can see that I’m using a pop art filter.

However, there are more options. Overlay effects in particular can add flavor to your clips, and LUTs can give your entire output a theme.
Then there are stickers, speech bubbles, and frames. Stickers and callouts are used to highlight specific video elements or display specific messages at any time during a clip. For example, the subscribe button that pops up on many YouTube videos falls into this category.

This may look similar to the title you saw earlier, but the stickers and callouts cannot be edited.
These are some of the things you can do with a sample video clip, but this is far from the limit. The easiest way to see everything you can do with an element is to right-click in the timeline area.

This shows the available effects that can be applied to thematic elements. In particular, the “Tools” section provides an exhaustive list of possible modifications and enhancements.
All in all, there are so many things I can do and write about. However, that would take us away from the scope of this article, which is to compare Movavi and Canva.
So let’s stop here and start with Canva.
Canva video editing

Canva has a powerful web application, but I downloaded its Windows version. And at first glance, you can tell that this tool is not aimed at video editing. Basically anyone who has used a video editor can notice this. In particular, there is no “visible” timeline that indicates video limitations in advance, which is a feature of such tools.
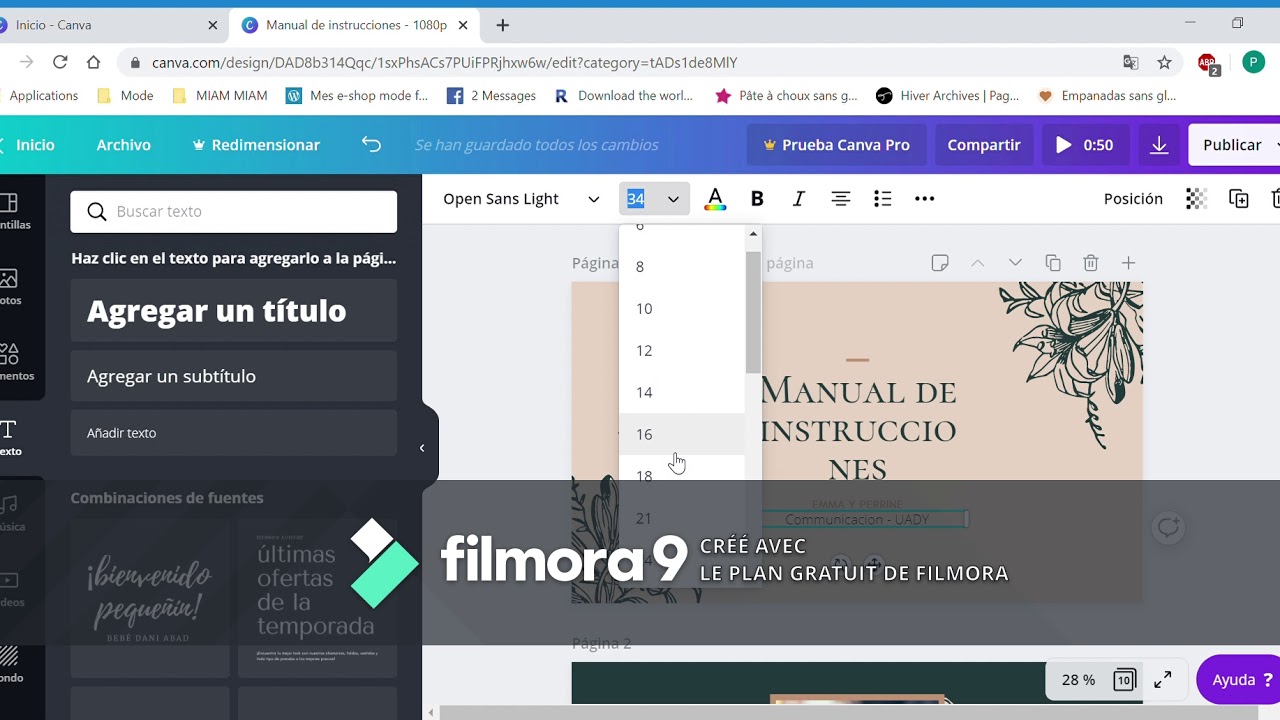
Anyway, I started by editing the video at the top.
Under the Effects category, you’ll find background removal features and filters (much like LUTs). In addition to that, Adjustments (Beta) allow you to modify the color, light, and texture of your output.
Moreover, video editing features include cut, speed change, crop, flip, etc.
Then use Animate to apply preset animation to the start point, end point, or both. You can control the speed and direction of the animation.
Finally, the last tab at the top, Position, allows you to place multiple videos on top of each other or side by side with a custom background.
What helps in Canva’s case is the stock asset library that can be used for overlay elements. Although you can’t see the timeline right away, there is a feature that works much the same way.
Right-click the Subject element and click Show Timings . This reveals the object’s position relative to the main video element.
Now you can adjust the position and length by simply dragging. This is useful for social media users to point out objects, place pop-up buttons like subscribe and follow, and display end credits.
It’s not as efficient as a video editing timeline, but it gets the job done. Importantly, the timing indicates the selected element and there are no multiple such bars for different objects.
However, this is not the case when it comes to audio. You can create as many audio tracks as you like, each with its own timeline space, and apply effects such as fade in and fade out, beat sync (to time video elements to the music), volume, and more.
Additionally, Canva allows you to upload custom audio-video tracks.
This is my overview of Canva’s video editing features.
verdict
Movavi and Canva are aimed at different use cases. Movavi is perfect for those looking to do serious video editing with decent audio capabilities as well.
And Canva doesn’t seem to care much about video and audio at this point. The focus is on images, which are the next battleground for us to move on to.
Canva vs. Movavi: For images
Canva is famous for image editing, but this may be difficult for Movavi. This time, let’s start with Canva.
Canva image editing
If you subscribe to Canva Premium, I don’t think there’s anywhere else you need to search for media elements or templates. Its ever-expanding stock library is unlikely to disappoint you. Moreover, the interface is very intuitive and everything works easily.
The editing part includes a background remover, AI-powered Magic Eraser, and Magic Edit. A small limitation is that you can only use Magic Eraser or Magic Edit at a time.
Check out this one where I tried to remove the table using an eraser and this one where I replaced the camera using a hair dryer.

AI’s work may be rough around the edges, but that’s the (sad) reality of these types of tools today. These AI technologies will take time to mature. Until then, results may be substandard.
Next, Canva comes with themed filters, shadows, autofocus, and blur. Specifically, the autofocus was very effective at focusing on certain segments and blurring other parts. Similarly, shadows can be adjusted in size, length, angle, etc.
Similarly, image editing involves color, temperature, and texture corrections to the background, foreground, or both.
Finally, Canva’s image editing capabilities end with animation and placing multiple images in layers.
Movavi image editing
I give Movavi Photo Editor an easy plus-one for its very straightforward interface. There is absolutely no chance that someone will miss a feature.
Everything is neatly stacked in the left pane.
Starting with the first tool, Adjust, it offers automatic color correction presets and an option to do everything manually.

I tried some autofixes and they worked.
Next, I tried erasing the object. There are both automatic and manual modes.
I have to admit here that this was much better than what Canva Magic Eraser did for the same object. I tried both AI and manual brushing on the center table, and the final render is very convincing.
Moreover, the manual eraser has many options to accurately track any object and make a satisfying deletion. So far, the improved performance of AI, combined with manual editing, has tipped the scales in Movavi’s favor.
Next on the list is a background removal tool like Canva. Again, there are two modes to fine-tune the output: AI and manual.
Restoring old photos is another feature that Canva doesn’t have yet. This is an AI-powered feature that removes imperfections and colors old photos.
I downloaded it from Unsplash and tried it out.

This was a nice touch, but I expected more. So I tried something else.
Now all remaining doubts are answered. We can safely prove that this is not another AI gimmick and that the Movavi photo editor is capable of rendering studio-level output.
Its retouching has once again added AI mode and manual mode. This time, its AI was unable to make any major changes. It didn’t have what I expected, especially in terms of skin smoothness, wrinkle removal, etc. However, the manual mode worked well for some things, such as eye enlargement and face slimming.

Next are filters to theme any image and captions to add text and stickers.
Some more tools include cropping, rotating, resizing, etc. This completes our short encounter with Movavi Photo Editor.
verdict
As with video editing, Canva and Movavi are going in very different directions.
Canva’s strengths are its rich stock media library, lightweight photo editing, and animations that help everyday marketers. Movavi, on the other hand, has many AI tools that can help you with professional photo editing.
final thoughts
There is no clear winner because there is no competition. They are both great at what they do and have followers in their respective areas. For those trying to choose between them, it’s just a matter of sorting out your requirements.
For advanced photo and video editing, use Movavi, the premium video and photo editor. Plus, you can take advantage of a 1-week full-featured trial to see it thoroughly.
Canva is suitable for surface-level work and can be beneficial for online publications, e-commerce stores, social media professionals, and more. Additionally, there is also a powerful forever free version that you can try to gain more insights.
That’s all from me. Goodbye!


![How to set up a Raspberry Pi web server in 2021 [Guide]](https://i0.wp.com/pcmanabu.com/wp-content/uploads/2019/10/web-server-02-309x198.png?w=1200&resize=1200,0&ssl=1)

")


 in Roblox")
")


")


")


")
