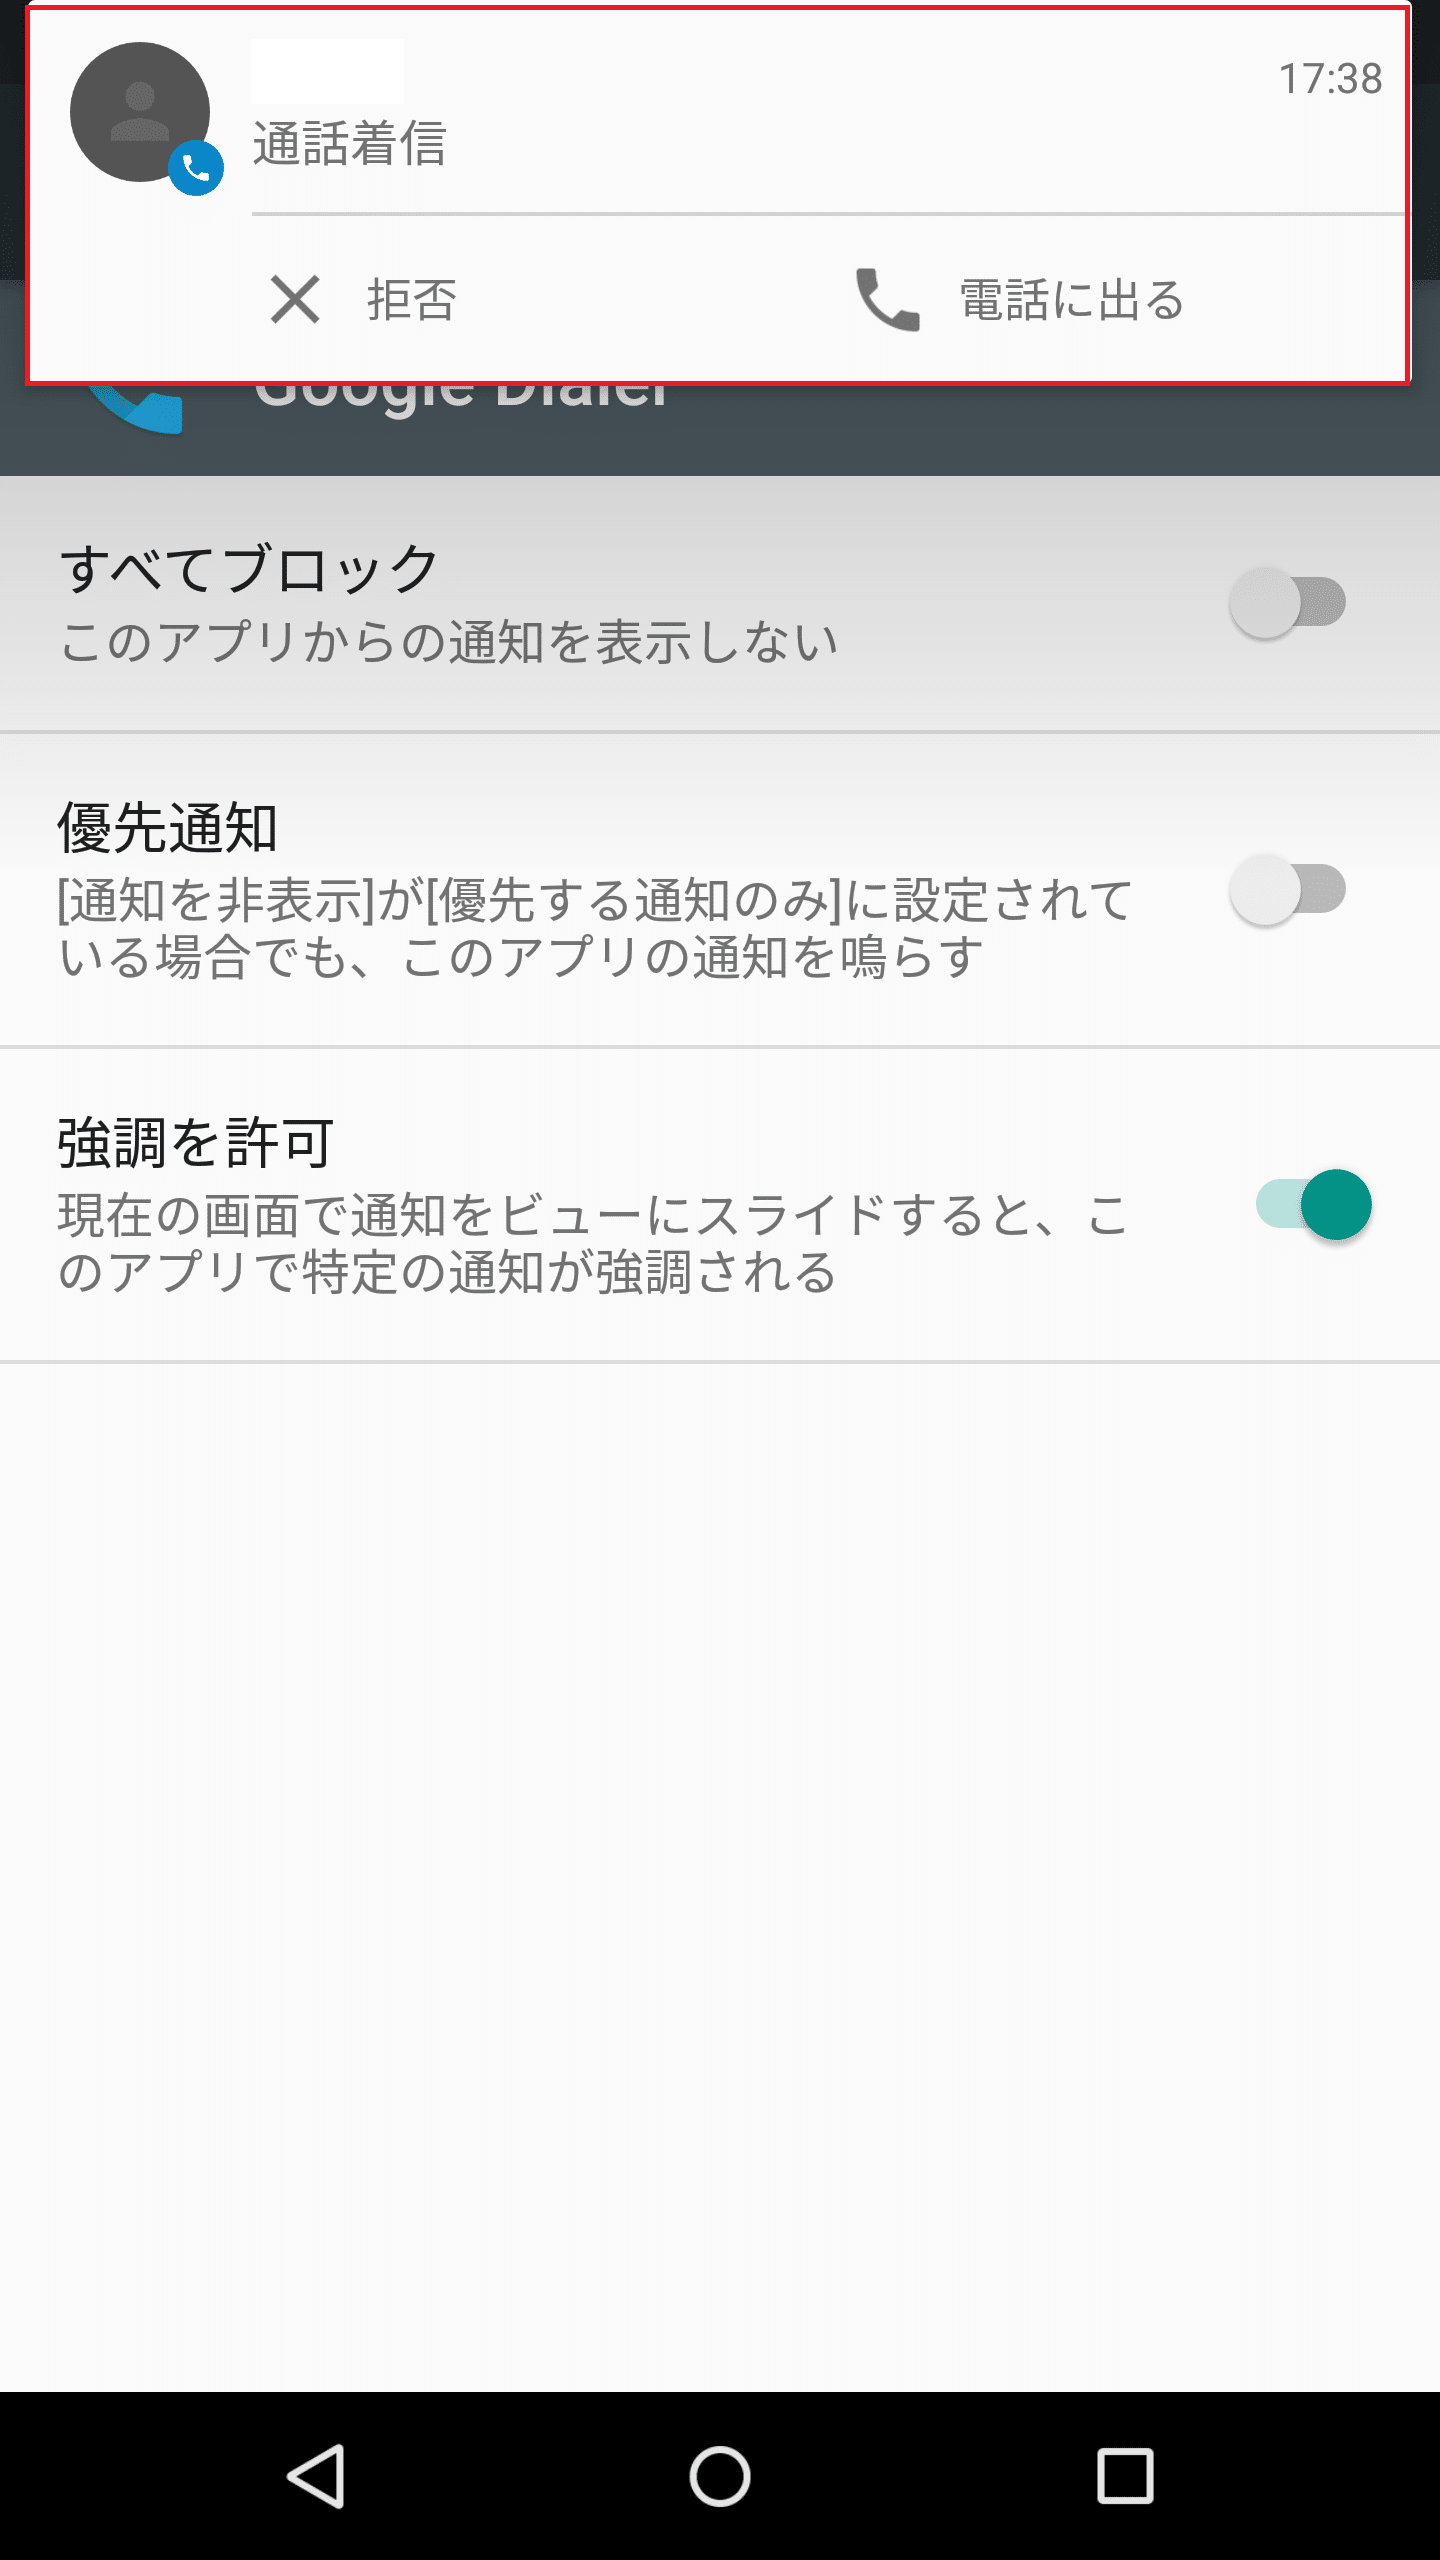
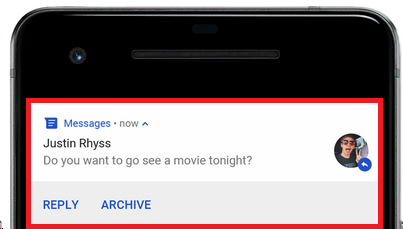
Android heads-up notifications are a very useful feature. While this setting is on, heads-up notifications will briefly appear at the top of your screen, saving you from checking the notification drawer for heads-up notifications every time. You can turn off this setting completely, but there’s no way to turn it off for just a few specific apps. That said, some phones like the Galaxy S8/S8+ and OnePlus 5 have a gaming mode that lets you block selected apps. However, if you’re using stock Android or some other skin that doesn’t have such a mode, here’s how to block Android heads-up notifications in your app.
Prerequisites for blocking Android heads-up notifications
Before you learn how to block heads-up notifications while using games and video apps, there are a few things you’ll need to do in the process. Here is a list to ensure a seamless procedure:
- Download Tasker ( 7-day trial , $2.99 ) and one of its plugins, SecureTask ( free ) .
- Depending on the OEM of your device, you may first download and then install the USB driver . If you don’t know how to do that, the same link provides guidelines for doing so.
- Download the ADB binary file depending on your platform.
- Download software such as WinRAR to unzip compressed files and folders.
- Enable developer options on your Android device. To do this, go to Settings –> About Phone and tap Build Number seven times in a row.
Note: I have a computer with Windows 10 Pro and a rooted Moto G3 with a custom ROM and Android 7.1.1. The following method works equally well on non-rooted devices.
How to block Android heads-up notifications in games and video apps
When I think of system tweaks that Android doesn’t offer natively, the first thing that comes to mind is Tasker. This is an amazing app that allows you to customize your phone beyond your imagination, most of which don’t even require root access. Once you meet the prerequisites, you can proceed with the steps below.
- Go to Developer Options on your phone and enable USB Debugging . On some devices, this may appear as “Android Debugging”. A message will appear asking for confirmation. Tap “OK” and connect your phone to your computer.

- Extract the ADB binary file to a folder on your computer. I unzipped it on my desktop. Next, open this extracted folder, hold down the Shift key, and right-click anywhere on the screen. You should see an option to “Open a PowerShell window here.” Click this.
PowerShell
Note : If you are not using the latest build of Windows, this option is called “Open command window here.” You can also open Terminal on your Mac and complete the same process.
- In the PowerShell/Command Prompt window, type adb devices and press Enter. If this is your first time doing this, you will see a prompt on your phone. Tap OK to allow.
- Type adb devices again in the PowerShell window on your computer and press Enter. Your phone should now be listed as a connected device. If not, the driver was not installed correctly.
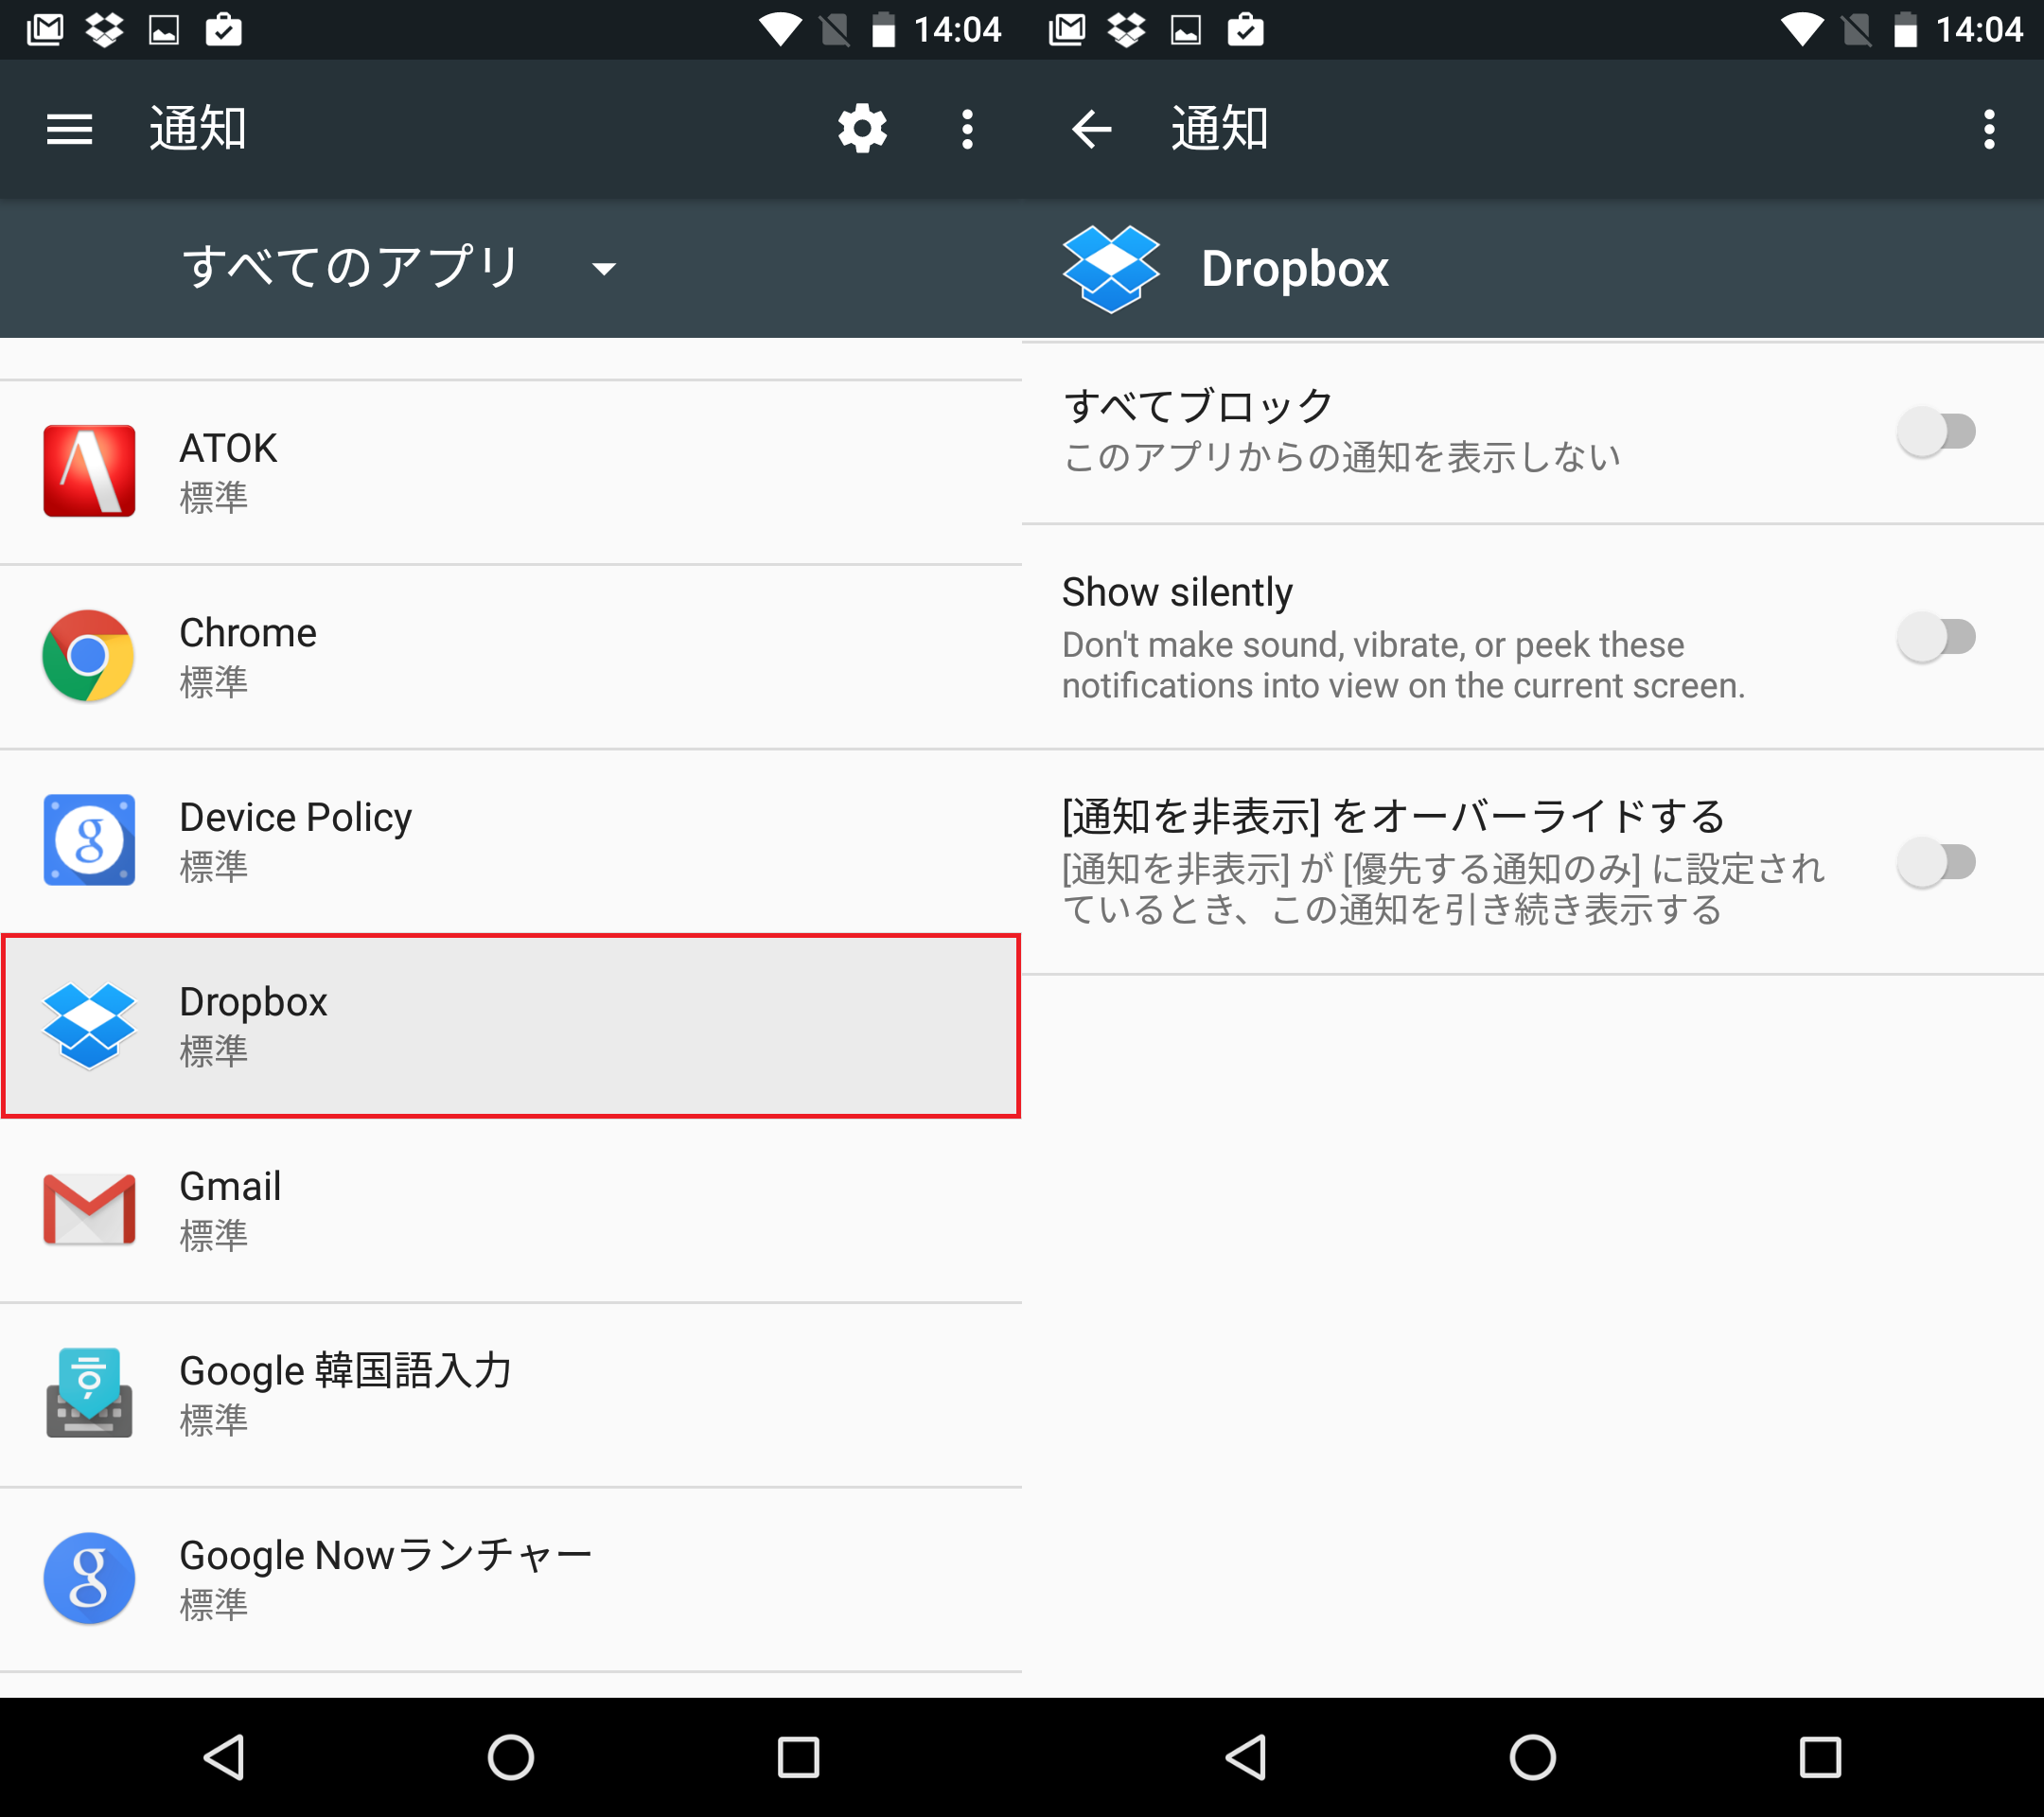
- Then, on your phone, go to Settings –> Accessibility –> Tasker . Toggle this on . This is required so that Tasker knows which app you are using.
- After doing this, open SecureTask and grant all necessary permissions. Next, return to your computer and type “adb shell” in the same Windows PowerShell/Command Prompt window and press Enter. Then run the following command:
PM Permission com.balda.securetask android.permission.WRITE_SECURE_SETTINGS
- Return to your phone and open Tasker . On the Profile tab, tap the plus icon at the bottom right of the screen and select Applications .
- From the list of apps that appears, select the app you want to block heads-up notifications from and go back. I selected “Subway Surfers” on my phone. When you return to the Profile tab, tap New Task .

- You will be asked to give it a name. It’s optional so you can skip it. Finally, tap the check mark that appears on the screen. On the next Edit Task screen, tap the plus icon to add an action.
- From the action category list, select Plugins –> Secure Tasks –> Secure Settings .
- On the next Edit Action page, tap the Edit Configuration icon. The icon will be in the shape of a pencil. A warning may appear after this. Ignore it and tap OK to continue.

- The SecureTask configuration page appears. Now change the “Action” to “Write” . Enter 0 in New Value and the following in Settings .
Global heads-up notifications enabled
- Once saved, return to the main Tasker screen , go to the Profile tab , and press and hold the text to the right of the green arrow. Tap Add Finished Task from the menu that appears. Again, you can name this task and tap the check mark .
- Now, as in the previous step, add an action by tapping on the plus icon and go to Plugins –> Safe Tasks –> Safe Settings . While editing the settings, change the “Action” to “Write” again and enter the same values as above in the “Settings” . The only change in this step is to enter the “New Value” as “1” instead of “0” . Finally, save this before returning to the main Tasker screen.
Now, the next time you open one of these apps (Subway Surfers in my case), heads-up notifications will be automatically blocked. They will be re-enabled when you exit the app. If you want to add or remove apps from this list, you can do so by tapping on the list of existing apps under the profile you created.
See also: How to group notifications by app in iOS 10
Disable heads-up notifications to play games and watch videos comfortably
Considering how frustrating it is to have notifications appear on your screen while playing games or watching videos, it makes sense to block them. However, the only option you have in your phone’s settings is to block all apps completely. However, now that you have read this article, you can now block it for the specific apps you want. Apart from the methods mentioned above, is there an easier method? Let us know in the comments section below.
This tutorial was originally posted on XDA Developers . I tried it and it worked fine.


![How to set up a Raspberry Pi web server in 2021 [Guide]](https://i0.wp.com/pcmanabu.com/wp-content/uploads/2019/10/web-server-02-309x198.png?w=1200&resize=1200,0&ssl=1)

")


 in Roblox")
")


")


")


")
