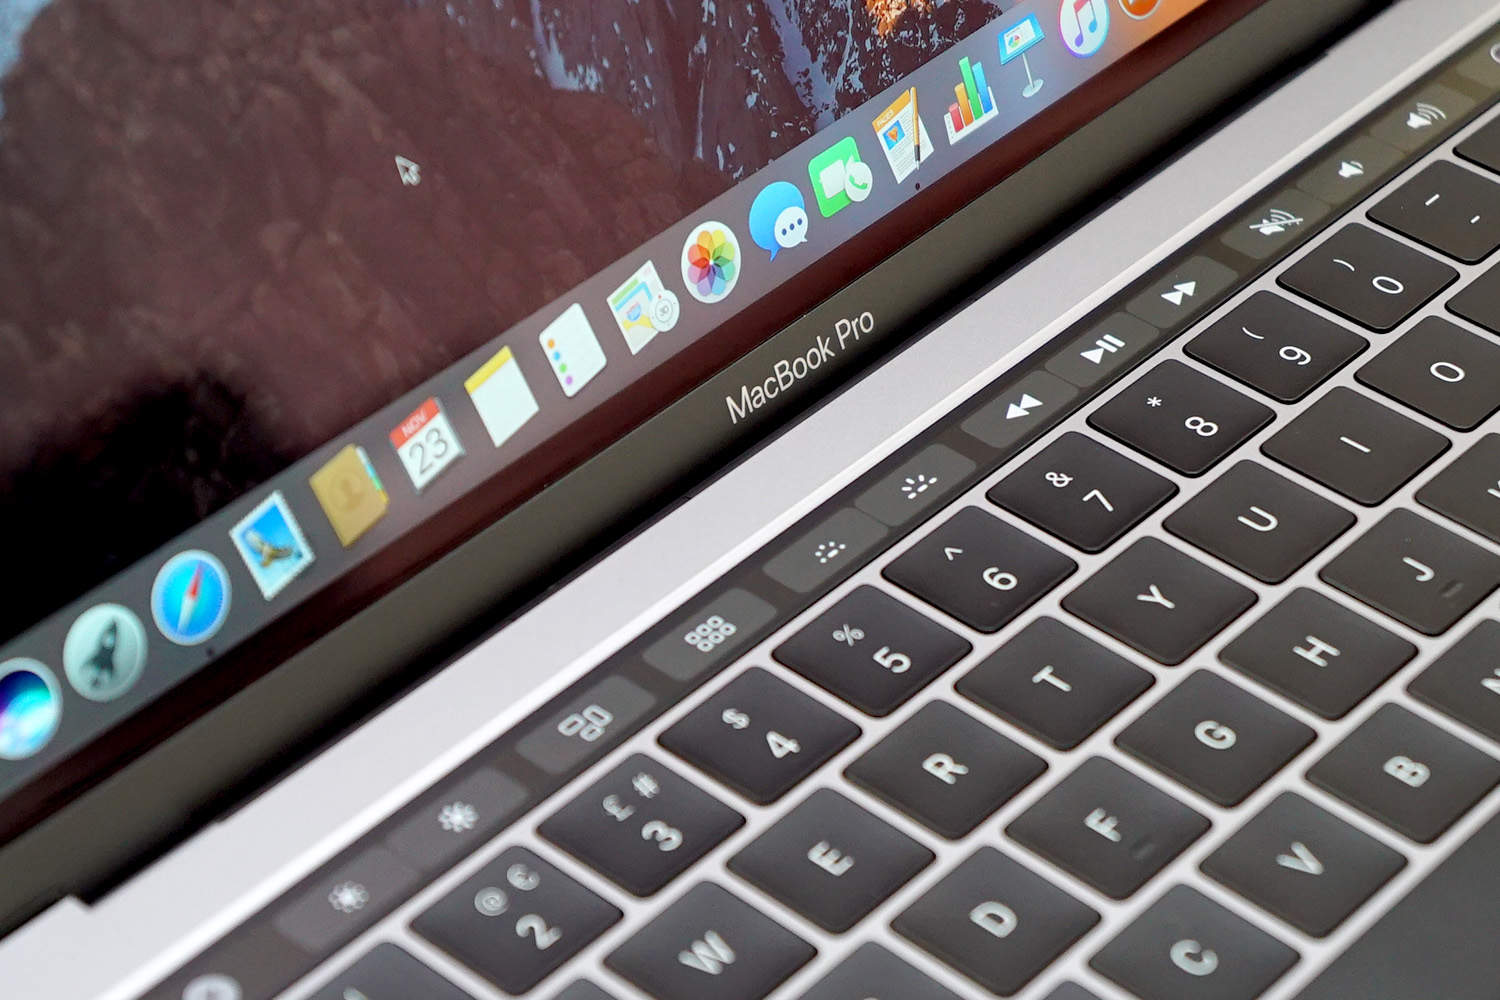
Ever since Apple announced its Late 2016 MacBook lineup, everyone seems to be talking about the Touch Bar. Usefulness, or lack thereof. Personally, I think it’s really great, and I think it’s going to get even better in the future. One of the things Apple talked about in the keynote was the fact that you can easily customize the Touch Bar in much the same way you customize the toolbars of Apple apps on your Mac. So, if you have a new MacBook Pro 2016 with Touch Bar and want to customize the Touch Bar tools, here’s how you can do it.
Customize the touch bar
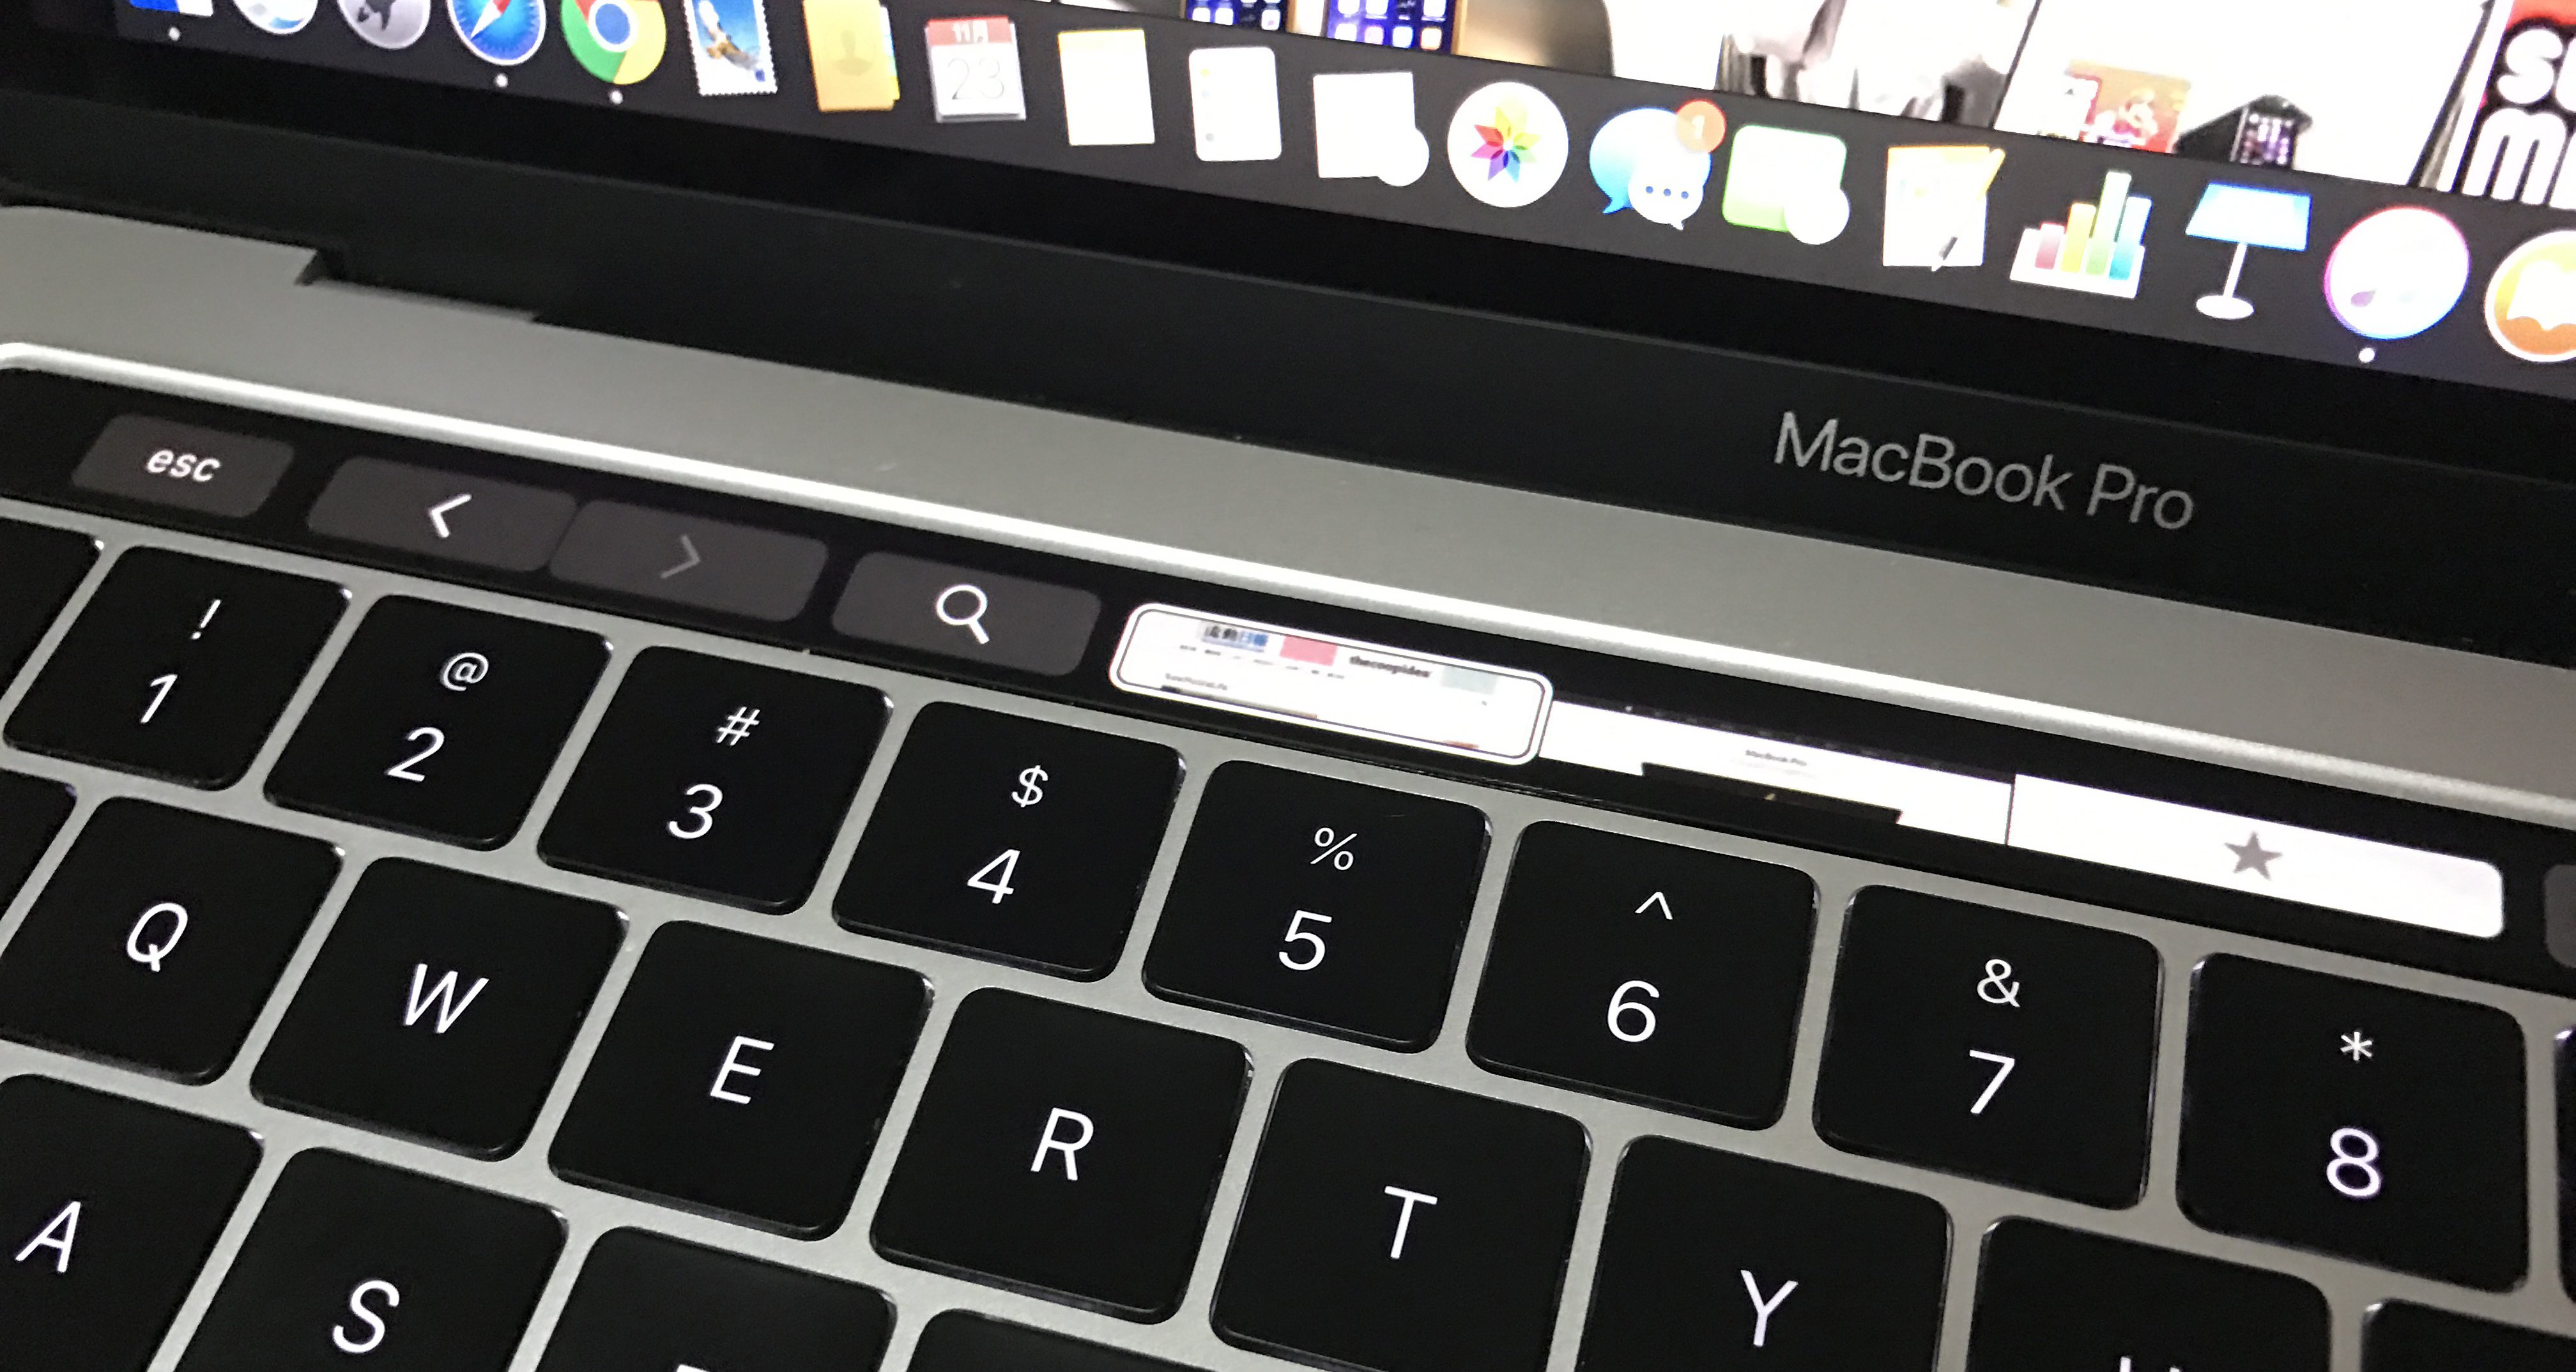
It’s actually very easy to customize the Touch Bar, which is nice. I want to have Spotlight where Siri is. Because I don’t use Siri at all. Customization options simply give you more flexibility to use the Touch Bar the way you want. To customize your Touch Bar, simply follow the steps below.
Note : I don’t have a MacBook Pro 2016 with Touch Bar, so I use a trick to get Touch Bar on any Mac. We will show you how to customize it. However, this process is exactly the same as the real Touch Bar, so you won’t find any differences.
1. Go to System Preferences on your Mac and click Keyboard .
2. Now click on the button labeled “ Customize Control Strip ”.

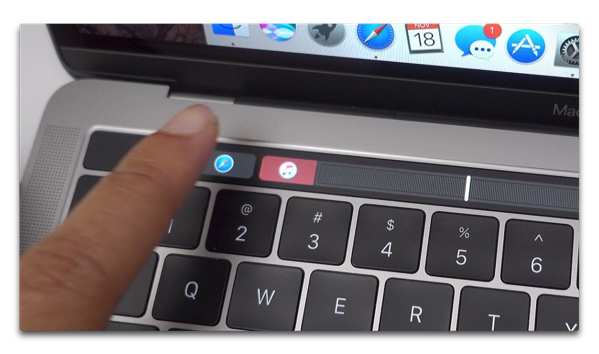
3. All available Touch Bar buttons will be displayed. Just drag what you want to the bottom of your Mac’s screen and it’ll drop down into the Touch Bar.
4. If you want to customize the Touch Bar and want the default one later, it’s easy. Just drag and drop the “ Default Set ” onto the Touch Bar.
When you’re done, just click the Done button and the Touch Bar will update to show the new button you added there. Customizing the Touch Bar is easy, and you can keep tweaking it until you find the set of buttons that work best for you.

Bonus: Take a screenshot of the Touch Bar
The Touch Bar is essentially a display, but it’s not on the screen. Therefore, common screenshot shortcuts will not work. For example, you can’t press Command+Space+3 to show the Touch Bar in a screenshot. If you want to take a screenshot of the Touch Bar, you can use a new shortcut that Apple has implemented specifically for that purpose.
- To take a screenshot of your Touch Bar and save it as an image file, just press Command + Shift + 6 .
- If you simply want to copy the screenshot to the clipboard, press ” control + command + shift + 6 ” instead and paste the screenshot anywhere.
These are the ways to take Touch Bar screenshots on Mac. Unfortunately, there’s no way to take a screenshot of a specific area of the Touch Bar, so you’ll have to crop the screenshot if you want to do that.
See also: How to set up custom gestures on your Mac using the Better Touch Tool
Customize the Touch Bar on your new MacBook Pro to suit your needs
That’s how you can customize the Touch Bar to suit you and use your MacBook Pro. Now that you know how to do that, which buttons on the Touch Bar are you going to replace? Let us know your thoughts on the Touch Bar and whether you think it’s a useful addition to the MacBook lineup below. Please share in the comments section.


![How to set up a Raspberry Pi web server in 2021 [Guide]](https://i0.wp.com/pcmanabu.com/wp-content/uploads/2019/10/web-server-02-309x198.png?w=1200&resize=1200,0&ssl=1)

")


 in Roblox")
")


")


")


")
