This guide provides instructions for installing PyTorch on Windows and Linux using Anaconda to manage package installations.
Installation is done using conda command line tool built into Anaconda.
PyTorch is a machine learning library written in Python and based on the Torch framework. It was developed by Facebook and is comparable to Tensorflow by Google and others. It’s useful in computer vision and natural language processing, and is used by companies like Tesla to develop autopilot software.
PyTorch is free, open source, licensed under modified BSD, and under the Linux Foundation.

Prerequisites
To follow this tutorial, you must have Anaconda installed on the machine you are working on.
If you haven’t installed it yet, this guide on how to install Anaconda will walk you through the process. After following that guide, you can proceed to install PyTorch.
Installing PyTorch on Linux
As a good practice, first update your Linux distribution’s software packages. In my case, I’m using Ubuntu and use apt to manage packages, so I use the following command to update:
$ sudo apt update && apt upgrade Once the package update is complete, go to the installation page on the official PyTorch website . Scroll down the page until you find the installation wizard as shown below.
The wizard allows you to specify system information and settings by clicking through various options, and displays commands that you can use to install PyTorch in your terminal.
After entering your system information, it should look like this:
I will choose a stable Linux version and use Conda for package management. I also chose to use PyTorch with Python rather than C++/Java. And run PyTorch on the CPU instead of the GPU.
At the bottom of the table there is a command that you can use to install PyTorch, but before you can run this command you need to create an Anaconda virtual environment called pytorch .
Virtual environments allow you to create a project and keep its dependencies isolated from dependencies in other projects, thereby preventing dependency conflicts. One of the benefits of Anaconda is the ease with which you can create and manage virtual environments.
To create a virtual environment with Python version 3.7, enter the following command:
conda create -n pytorch python=3.7Once the environment is created, activate it using the following command:
conda activate pytorchOnce the environment is active, install PyTorch by running the command you generated earlier on the PyTorch website.
conda install pytorch torchvision torchaudio cpuonly -c pytorchFollow the prompts to install PyTorch. Once completed, restart your terminal session for it to take effect.
Now, to verify that PyTorch is installed correctly, try importing it into your Python interactive shell. Verify that you are in the Pytorch virtual environment using the following command:
conda activate pytorchOnce you are in the Pytorch virtual environment, enter the following command to open a Python interactive shell.
pythonOnce your shell session starts, write the following line of code and press Enter.
import torchIf Python runs without errors, the installation was successful. However, if you get a “module not found” error, it means something went wrong during installation. Please try reinstalling again.
Installing PyTorch on Windows
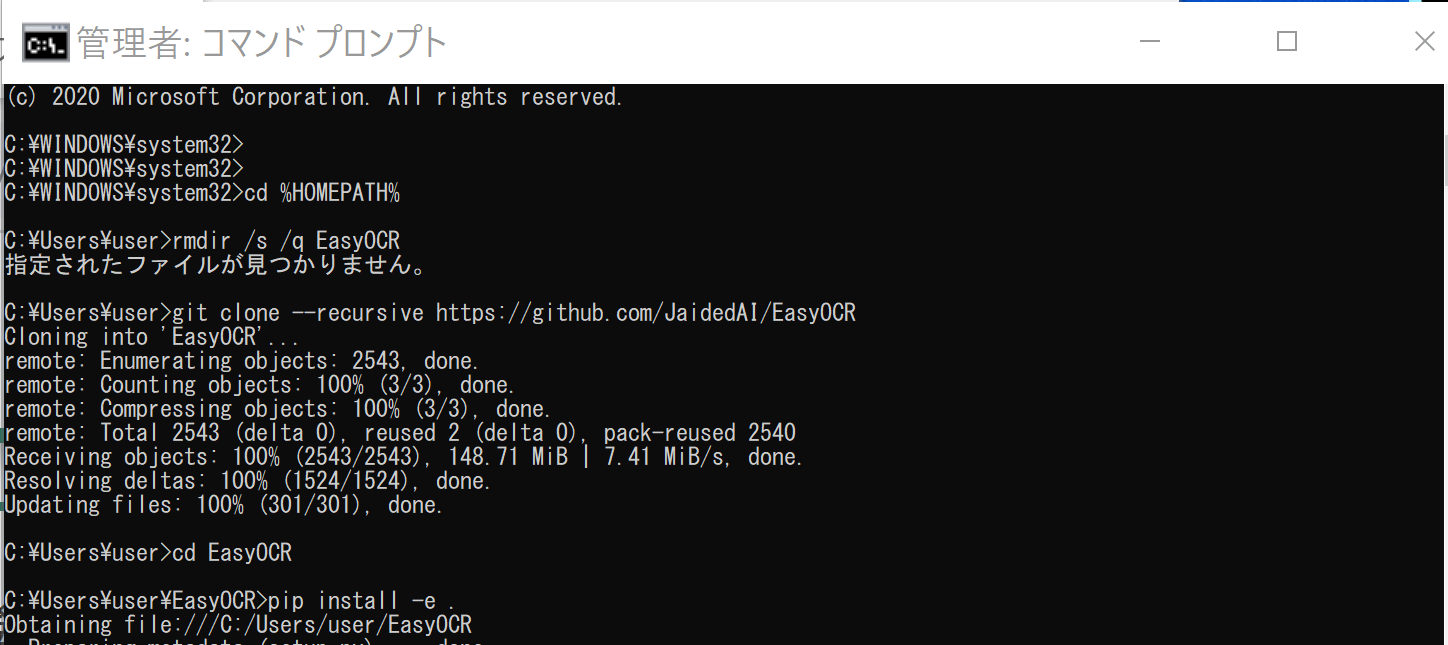
First, search for and open the Anaconda Prompt program on your Windows machine. Now run the command.
Once the program opens, use the command to create a virtual environment for your PyTorch installation.
conda create -n pytorch python=3.7Once you have created your virtual environment, you can activate it by running the following command:
conda activate pytorchOnce your virtual environment is active, you can proceed to install PyTorch. First, go to the installation page on the PyTorch website . You can then scroll down to the section of the page where this installation wizard is located.
Select System Information here and the wizard will provide commands to install PyTorch. Select stable releases for Windows, managed by Conda, used through the Python programming language, and run on the CPU. As a result, my table looks like this:

Then copy and paste the command into the Anaconda prompt and press Enter.
Once the installation is complete, you can check whether the installation was successful by opening a Python interactive shell and attempting to import PyTorch.
Therefore, start an interactive Python session within the Anaconda prompt.
pythonOnce the session starts, import PyTorch using the following line of code:
import torchIf this action completes without errors, the installation was successful.
last word
In this guide, we installed PyTorch on both Windows and Linux using conda. It can be installed via PIP just like a regular PIP package. In both cases, I chose to install a CPU. However, you can still use CUDA, a system toolkit developed by Nvidia that speeds up training by parallelizing operations across GPUs.


![How to set up a Raspberry Pi web server in 2021 [Guide]](https://i0.wp.com/pcmanabu.com/wp-content/uploads/2019/10/web-server-02-309x198.png?w=1200&resize=1200,0&ssl=1)

")


 in Roblox")
")


")


")


")
