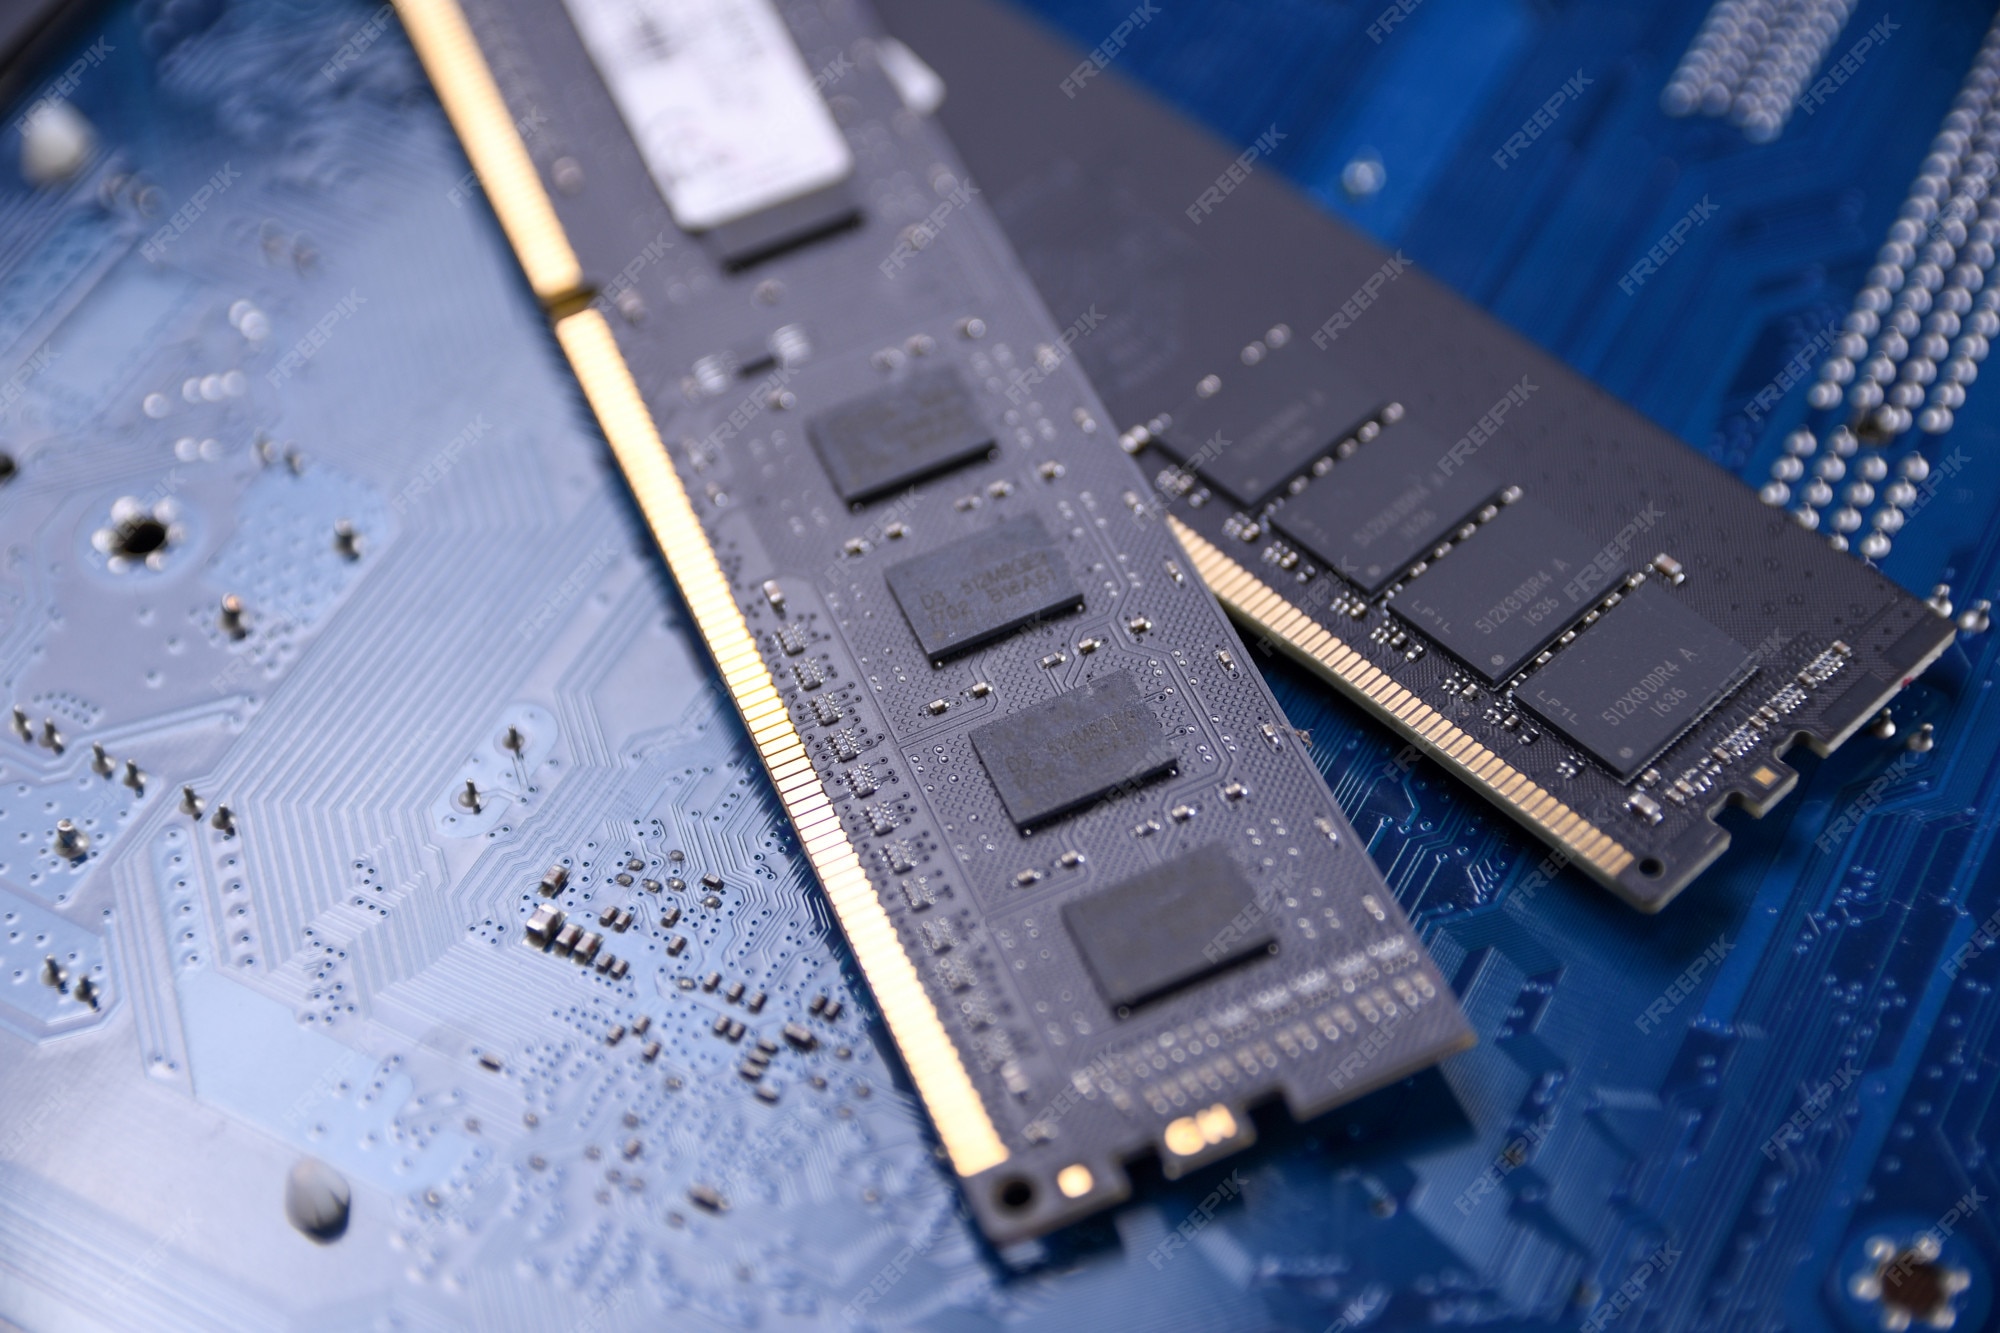
RAM (Random Access Memory) is an important component that needs to be installed in your PC build. For those who don’t know, RAM is used to temporarily store data and helps your computer run smoothly. When you shut down your PC, all data stored in RAM is lost. With the basics out of the way, learn how to install a RAM stick on the motherboard of your PC build. Installing RAM on your motherboard is a relatively simple process, and if you’re upgrading the RAM on your existing build, it can help extend the life of your PC. With that said, don’t waste your time and learn how to install RAM on your motherboard efficiently.
This article will help you identify the memory slot where you need to install your RAM. Learn how to accurately place RAM sticks into memory slots, a major concern for many people building a PC for the first time. So, first, let’s take a look at everything you need to take care of before the installation process. 
Things to remember before installing RAM
Check RAM and motherboard compatibility
To find out which RAM is compatible with your motherboard, you need to visit your motherboard manufacturer’s website and check the QVL list and supported memory types . We have observed that Ryzen APU-based systems randomly crash when using DDR4 RAM modules that are not listed and not designed for AMD computers, even if physically supported by a B450 motherboard. I personally observed that. Be sure to purchase a RAM stick that is compatible with your motherboard.
Many Intel Raptor Lake and Alder Lake motherboards, such as the Z690 and Z790, support DDR5 RAM, which is much faster than DDR4. Additionally, AMD’s latest generation Ryzen 7000 CPUs and AM5 motherboards exclusively support DDR5 memory. Although clearly moving away from DDR4 memory, Intel still offers a choice between DDR4 and DDR5. For more information on the same, check out our dedicated review of Intel 13th Gen i-13900K. 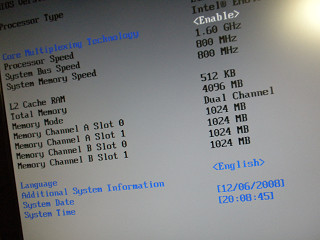
Verify that your RAM sticks operate in dual or quad channel configurations
Second, when purchasing RAM, be sure to get at least two identical modules . If you plan to install more memory, check your motherboard manual to find out the number of slots available and purchase an even number of RAM sticks (2 or 4). We’ve compiled a list of the best DDR4 RAM sticks for you. Buy it now for your workstation or gaming PC. To help guide optimal installation, motherboards may also color code the DIMM slots.
As for why you shouldn’t use an odd number of RAM sticks in your PC, it’s because they won’t work in optimal configurations. RAM should always be installed to support dual or quad channel configurations . Check out our guide to understand the benefits of dual channel vs. single channel. Therefore, we recommend buying two identical RAM sticks (with the same latency and frequency) or a memory kit with multiple RAM modules. 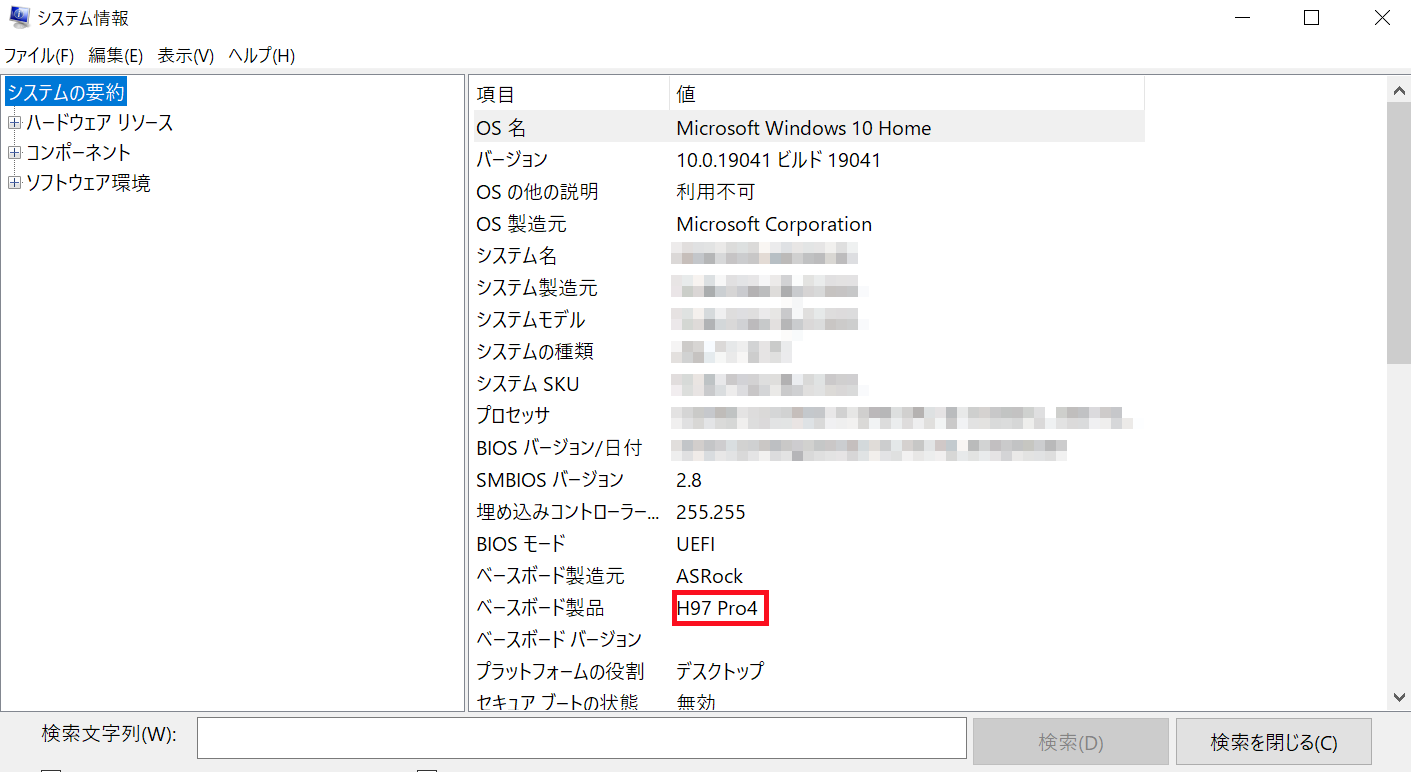
How to install a RAM stick on your motherboard
Note: To avoid static damage to PC components, we recommend using an antistatic bracelet and grounding. You may also touch metal objects to discharge static electricity in your body.
1. First, prepare your RAM stick and motherboard. The motherboard must be placed on top of the box during this tutorial. If you’re upgrading an existing build, start the process by placing your PC case horizontally.
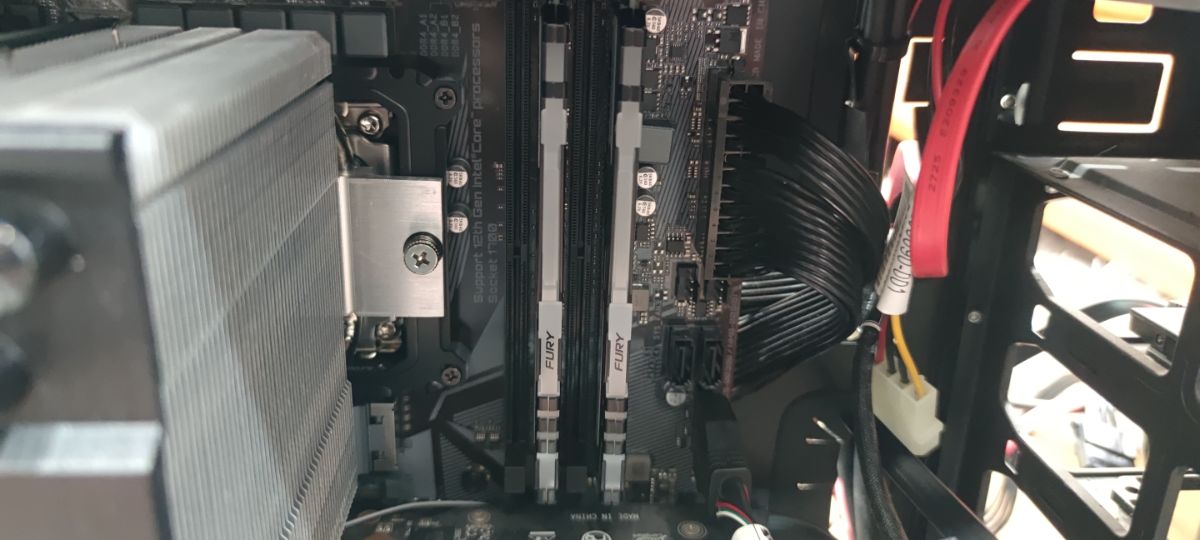
2. Next, locate the RAM slot on the motherboard. These are usually located to the right of the CPU socket on the motherboard. These slots are also labeled so you can take notes. Next, check your motherboard manual to determine which RAM slots should be used for optimal dual channel or quad channel support. Basically, if you have two or four sticks of RAM, the best performing configuration is to install them in specific slots that support dual or quad channel memory.
Note:
Do not install more than one RAM stick without checking your motherboard manual for the appropriate installation slot. Otherwise, it runs in a slower single-channel configuration.
3. Next, you need to open the RAM slot on your motherboard. To do this, simply push the tab on the RAM slot outwards and the tab will open (see the image below). Be careful not to use too much force and break the RAM slot tabs. On many modern motherboards, only one side of the RAM tab tends to open.
4. Next, align the RAM module with the slot to visually understand which direction to install it. All RAM modules, whether DDR4 or DDR5, have a notch in the middle that allows you to insert the memory stick in only one direction. . Now, in addition to aligning the notches, you also need to make sure that the RAM fits comfortably in the gap on either side of the slot.
5. Now place the RAM into the slot (do not push it all the way in). Once you feel the alignment is correct, use both thumbs to gently press down on the opposite edge of the RAM module . The RAM will be pushed into the slot and the tab you just opened will automatically close, locking the memory module in place. You will hear a click when the tabs close and all RAM modules are fully installed.
6. Then repeat these steps for all other RAM modules. The RAM stick should be firmly seated in the slot as long as it is oriented correctly. And voila! RAM has been successfully installed on the motherboard.
That’s pretty much everything you need to know about installing or upgrading RAM in your PC build. We hope that you were able to successfully install a RAM stick to your motherboard by following the steps outlined in this guide. Remember to carefully choose the right type and amount of RAM for your PC build so that you can enjoy a faster and more efficient computing experience without any problems. Although RAM is not designed or intended to hold storage, you can actually create a RAM disk in Windows 10/11 using this guide. Additionally, if you face any issues during installation, let us know in the comments section below. We will get back to you.
DDR5 is faster than DDR4, but it’s also more expensive. For modern, future-proof PCs, DDR5 is definitely the way to go. For PC users on a budget, the DDR4 RAM market is very mature and two RAM modules are available at a reasonable price. Also, I don’t see much of a difference between DDR4 RAM and DDR5 RAM, especially in terms of performance. So if you’re looking to future-proof your system, you can use DDR5, but if you’re not, you can stick with DDR4 RAM.
RAM is supposed to be inserted into a memory slot defined by the motherboard manufacturer. On some motherboards, the optimal configuration involves spacing out memory modules and installing them in alternate slots. Others require RAM to be installed next to each other.
If your new RAM is compatible with your motherboard, simply plug in a new RAM module and breathe new life into your PC build. However, please note that a BIOS reset is automatically triggered by the motherboard every time a new component is installed.
Both DDR5 RAM and DDR4 RAM are different generations and have different installation methods. Therefore, DDR5 RAM is not compatible with DDR4 slots.
The applications you run determine the amount of RAM you need. As a general rule of thumb, 16 GB of RAM is sufficient for a modern PC. Considering we’re in 2023, you definitely need at least 8GB. Many enthusiasts claim that 32GB makes a huge difference and that you can definitely do a lot of multitasking with this much RAM.
It depends on your computer. If your current operating system is slow and you experience system hangs when running all the apps you need, upgrading your RAM is an efficient way to make sure your apps run properly and your OS runs more smoothly. It’s a method.


![How to set up a Raspberry Pi web server in 2021 [Guide]](https://i0.wp.com/pcmanabu.com/wp-content/uploads/2019/10/web-server-02-309x198.png?w=1200&resize=1200,0&ssl=1)

")


 in Roblox")
")


")


")


")
