Your PC’s processor (CPU) should always come with a good CPU cooler. Therefore, before installing the motherboard into the PC case, you need to make sure that the AIO liquid or air cooler is securely attached to the processor. This is a daunting task considering the number of cables, mounts, and screws included. But don’t worry, we’re here to help you successfully install an air cooler or AIO on the CPU of your PC build.
Things to remember before installing a CPU cooler
- Remove the motherboard from the PC case
This guide requires you to remove the motherboard from your PC build. This will make installing the CPU cooler mounting bracket much easier.
- Get all the tools you need
This is an obvious prerequisite, but make sure you have the necessary tools and materials: a Phillips screwdriver, cooler mounting hardware, microfiber cloth, isopropyl alcohol, thermal paste, and an antistatic wrist bracelet to avoid static damage. If you’re not sure which CPU thermal paste to buy, check out the linked guide.
- Check CPU cooler compatibility with your PC build
To check the compatibility of your CPU cooler with your PC build, you should consider the following:
- The size of the CPU cooler and whether it will fit in your PC case.
- The mounting hardware included with the CPU cooler and whether it is compatible with the motherboard’s CPU socket.
- CPU cooler TDP limit and whether it is enough to cool the processor.
If you are overclocking your CPU, you will need to purchase a CPU cooler with a higher TDP limit. Here are some additional tips to check CPU cooler compatibility:
- Please refer to your PC case and CPU cooler product specifications or manuals to determine maximum dimensions and TDP limits.
- Check out CPU cooler reviews online to see what other users are saying about compatibility.
- If you are unsure whether your CPU cooler is compatible with your PC, please contact the manufacturer.
- Check the CPU socket and mounting hardware
Once you unbox your CPU cooler, check the instruction manual to find the mounting bracket that fits your motherboard’s CPU socket. For example, in our review of the 13th Gen Intel Core i9-13900K, we used a Lian Li Galahad 360 AIO, which required a mount (screws, backplate, etc.) for the Intel LGA 2066 socket.
Attach the cooler to the CPU using the bracket and its mounting hardware. Also keep other accessories in case you need to upgrade your PC with a new motherboard.
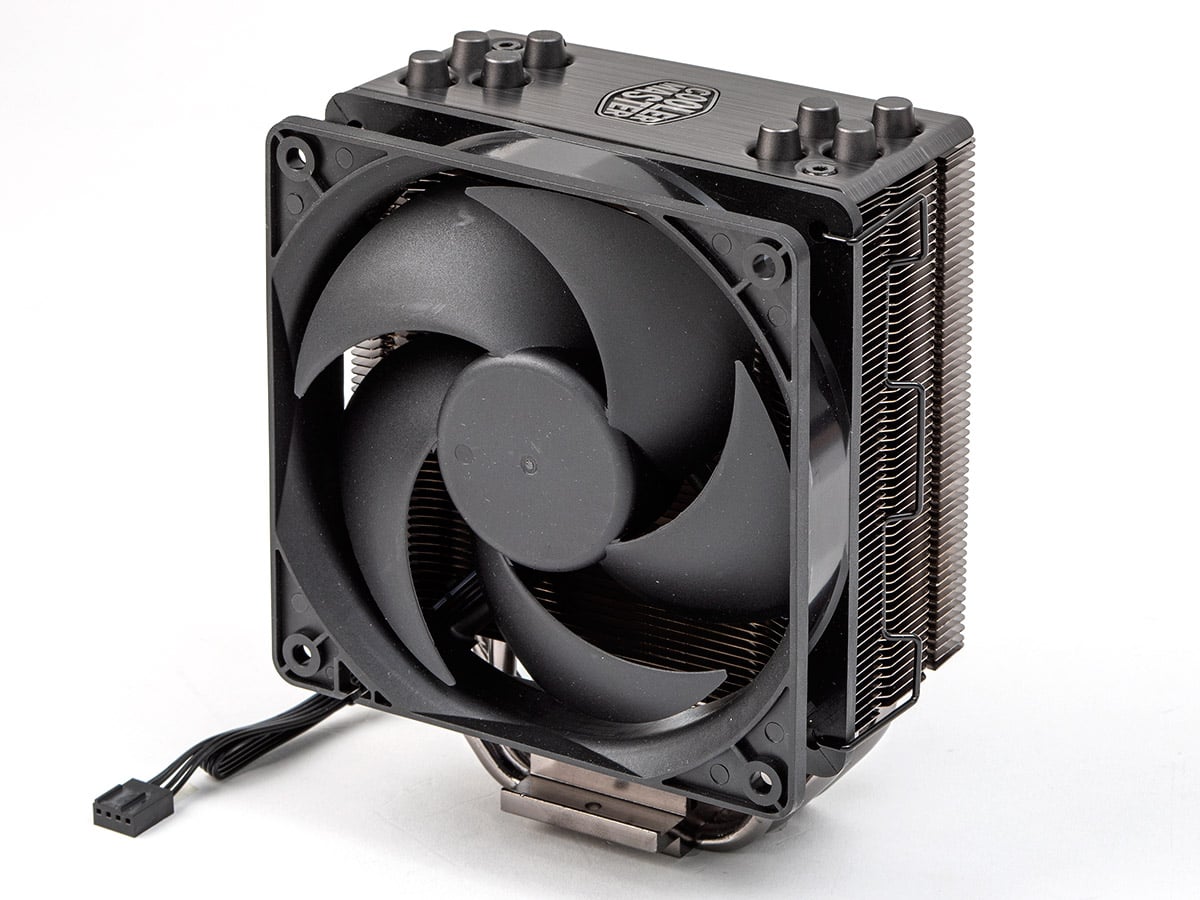
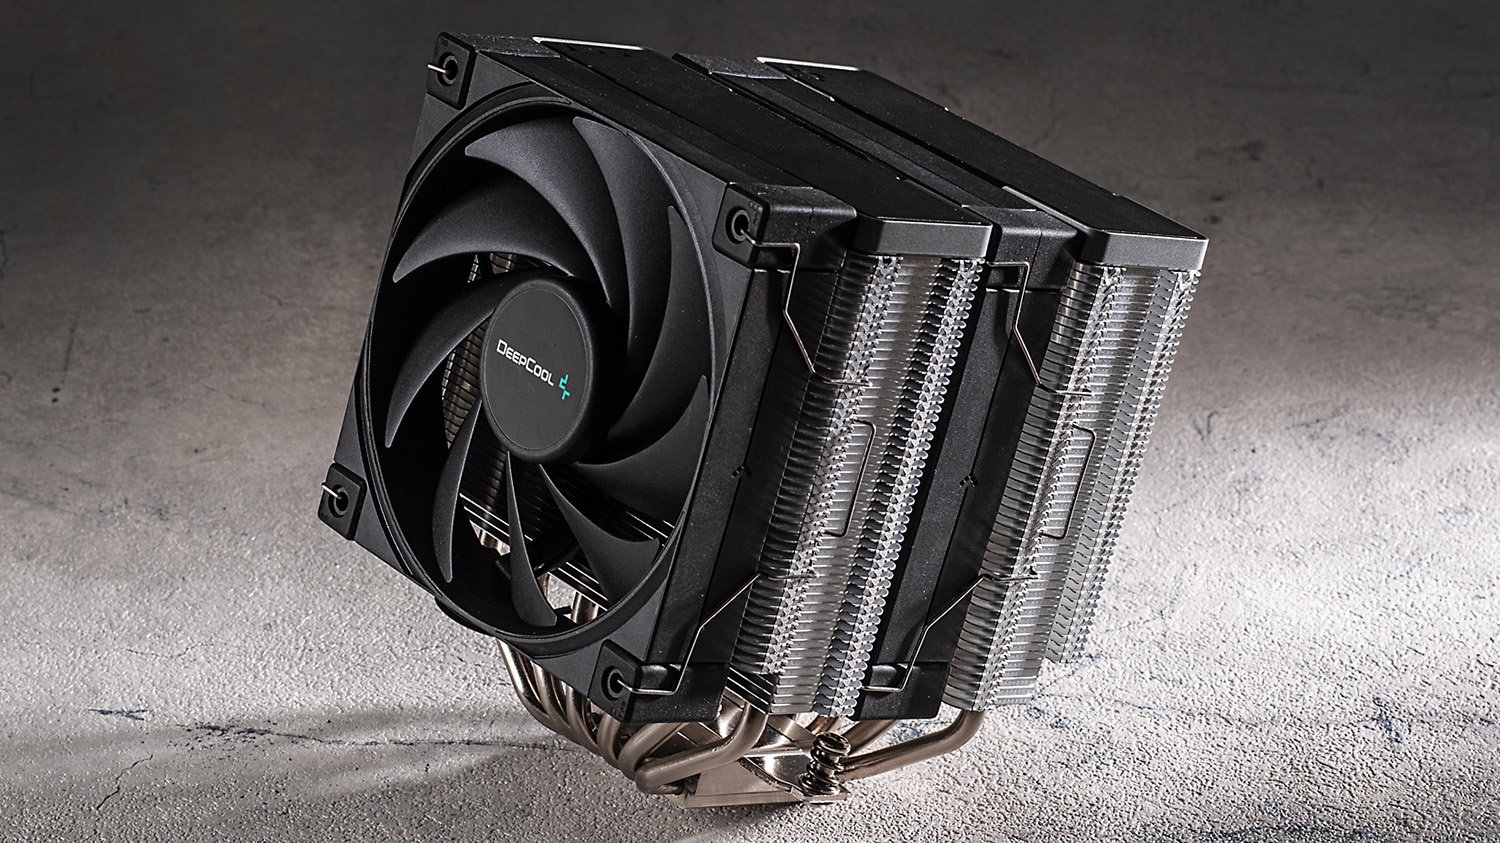
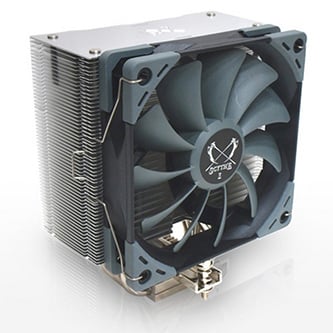
How to install a CPU air cooler on your desktop PC
Please ensure you have all appropriate mounting brackets and related accessories compatible with your motherboard. Also, the installation method may differ depending on the product, so please refer to the instruction manual if necessary.
1. First, attach the correct mounting bracket to the motherboard. There may also be a backplate that needs to be installed behind the motherboard and below the CPU’s socket . Our air cooler did not require a backplate. Still, I’ve given an example below.
2. Next, attach the other part of the mounting bracket to the CPU socket side. Align this bracket with the backplate and tighten the screws using a Phillips screwdriver and the included mounting bracket screws. The CPU air cooler mounting bracket is now attached to the motherboard.
3. Next, apply thermal paste to the CPU using this guide. This guide explains the amount of thermal paste based on the surface area of the processor.
Note : Users upgrading their cooling system should always clean the CPU surface beforehand. Also, avoid spilling thermal paste on the motherboard. If so, wipe with a microfiber cloth and 99% isopropyl alcohol solution.

4. Next, grab the air cooler and place it directly above the CPU , making sure it is aligned with the mounting bracket you installed in the first two steps.
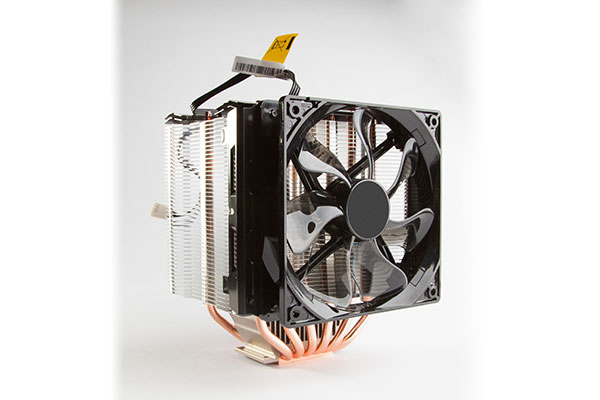
5. Next, you need to lower the air cooler as evenly as possible to the CPU socket and firmly seat it over the processor. Make sure to do this in such a way that the thermal paste is spread evenly over the entire surface area of the CPU.
6. Now attach the air cooler to the CPU by screwing it in with a Phillips screwdriver . Be sure to tighten these screws at an angle to ensure that the air cooler sits evenly on top of the CPU.
Note : Some CPU coolers are installed by lowering the retaining clip, like in the case of our air coolers. Also, no screws were needed, but instead I used some plastic nubbins on top of the bracket to hold the CPU cooler in place.
7. Now, you have successfully installed the air cooler on your CPU, but there are a few things left to do. Obtain your motherboard manual and go to the Cooling System Installation section. Your situation may use different but similar terms. Here is where the CPU fan header is located on the motherboard. This usually looks like 3 or 4 pins.
8. Next, grab the cable coming out of the air cooler’s CPU fan and plug it into the CPU fan header (often marked) on the motherboard. If your air cooler has RGB, you may need to connect it to a 5V or 12V RGB header on your motherboard. Its location is also listed in the motherboard manual.
9. That’s it! You have successfully installed an air cooler on your PC’s CPU. If you’re just upgrading an existing build, you can assemble the rest of your PC build or turn on your PC after closing the side panel.
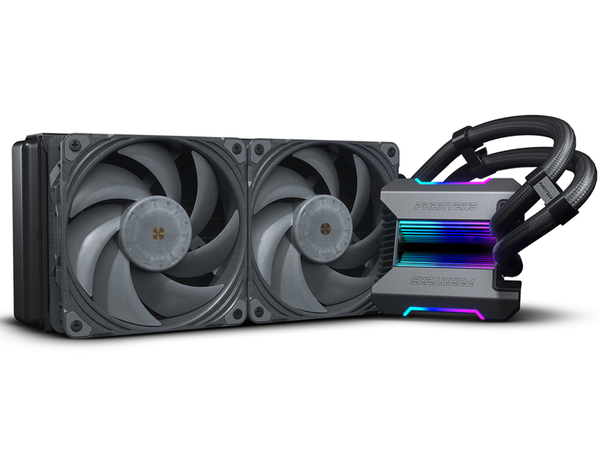
How to install an AIO liquid cooler on your desktop PC
All-in-one water coolers tend to have different installation instructions from brand to brand, so you’ll want to have your AIO manual handy. We recommend that you use this document as a reference in conjunction with the step-by-step installation guide below.
How to install an AIO radiator into your PC case
1. First, install the fan on the radiator. First, position the fan on the radiator unit so that it is aligned with the screw holes. If your situation requires you to use a “spacer”, first place it over the fan screw hole.
2. Next, use a Phillips screwdriver and fan screws (included in the AIO box) to attach all required fans to the AIO’s radiator unit.
3. Next, you need to install the radiator in the best location inside your PC case. To do this, you will first need to refer to your case manual to learn the best location to install the radiator .
Note : For 120mm size AIO, the radiator unit can be installed in the position where the exhaust fan is on the back of the PC case. For 240mm, 360mm, or other AIOs, it must be mounted on the top. This is usually preferred by many people. However, it can also be mounted on the front. Note that if the AIO is front mounted, it is best for the tube to come out of the top of the radiator.
4. To attach the radiator to your PC case, first place the radiator in the optimal position as determined by the manual .
If you try to attach a radiator to a PC case, the AIO CPU cooler block will float in the air, so be careful. Laying your PC case horizontally will make your work easier. Be careful not to damage the AIO’s CPU block when installing the radiator.
5. Next, screw the radiator into the PC case using a Phillips screwdriver and the included radiator mounting screws. As previously mentioned, be aware that AIOs may require washers between screws to ensure proper clearance, or may require something specific to the design and installation method of your water cooler. Please.

How to install AIO CPU block
6. Now that you have installed the radiator in your PC case, you need to install the AIO cooler’s CPU block to the processor. To do this, you must first attach a mounting bracket compatible with the CPU socket to the back of the motherboard .
7. Your AIO may also come with other mounting bracket parts. Please install those as well. As mentioned at the beginning, please refer to the manual for detailed instructions depending on your case.
8. Next, use this guide to install the motherboard into your PC case. The correct AIO mounting bracket must be pre-installed on the motherboard before screwing it into the PC case.
Note : As you can see, I placed the AIO box next to the PC case so that I could safely place the AIO’s CPU block on top of it. By doing this, you can avoid damaging your expensive hardware.
9. Next, install the thermal paste. Please choose the appropriate amount according to the surface area of your processor.
10. Before proceeding to the next step, make sure to also remove the plastic cover on the underside of the AIO (where the contact plate is above the CPU surface area).
11. Now install the AIO’s CPU block unit on top of the processor , matching the mounting hardware you previously installed in the previous section.
12. Next, press down on the AIO block to spread the thermal paste evenly. Then use the various mounting hardware associated with that bracket and a Phillips screwdriver to securely screw the AIO CPU block unit to the motherboard .
13. That’s it. You’ve successfully installed the AIO liquid cooler on your CPU, but there are a few things left to do.
Two main cables must be connected for the AIO to function properly. All radiator fans must be installed on the CPU fan header . You will also need to connect your AIO pump to the header . Consult your motherboard manual to know the specific location of these headers. Highlighted below.
Note : If your motherboard doesn’t have an AIO pump header, don’t worry. Connect to another fan header on the motherboard and set that fan’s speed to 100%. This ensures that the pump is working properly.
If your AIO has RGB, please refer to its manual as this guide does not provide detailed instructions for installing your lighting system. It depends on the brand.
We hope that after following the steps carefully, your all-in-one liquid cooler will be fully installed on your processor. You can continue building your PC by installing the remaining components. If you are upgrading an existing system with a new AIO, you will need to reinstall the motherboard connections. Then you can turn on the build and witness your new AIO liquid cooler in all its glory.
How to check if your CPU cooler is working properly
The last step of the guide is to check if the CPU air cooler you installed is working optimally. You won’t experience any throttling issues with your processor. To do this, enter the BIOS using the F2 or Delete keys. Next, go to the temperature section and you will see the CPU temperature. In the BIOS, the CPU is not stressed in any way. So it’s basically idle, and in that state the CPU temperature should ideally be between 30 and 50 degrees.
The BIOS also allows for easy configuration of fan curves without the need for additional software. If your CPU runs at very high temperatures, we recommend an aggressive fan curve. For example, the Core i9-13900K can reach up to 100 degrees under intensive stress. But as we explained in our review, this type of chip is designed to work to its fullest potential. It is normal to reach thermal limits periodically. If your CPU is efficient and kept at a relatively cool temperature, you can set a fan curve that favors more noise.
To check your CPU temperature, refer to this guide that includes various apps to help you track your processor temperature. Run stress tests such as Prime 95 and Cinebench R23 to stress your system. You can also run intense games like Cyberpunk 2077 that put a huge strain on everything on your system. Next, observe the CPU temperature and compare it to the TDP limit on the spec sheet that it is supposed to cool effectively to determine if the CPU temperature matches what you expect from the AIO or air cooler. I will.
First, locate the CPU_FAN header on your motherboard. Then connect the 3-pin or 4-pin fan cable of the CPU cooler to it, and the CPU cooler will be successfully connected to the motherboard.
Yes, in most cases. Although it is possible to install mounting hardware and a CPU cooler onto a pre-installed motherboard, it is not recommended as it makes the installation process more complicated.
no. Never disassemble the All-in-One Liquid Cooler (AIO). The internal coolant is designed to withstand long-term use without breaking down or needing replacement. If you experience any issues, be sure to claim the manufacturer’s warranty and send your AIO for an RMA.
Connecting the CPU cooler fan to the motherboard header allows you to control the fan speed depending on the temperature in the BIOS. Various profiles are also available, such as “Performance”, “Silent”, and “Full Speed”.
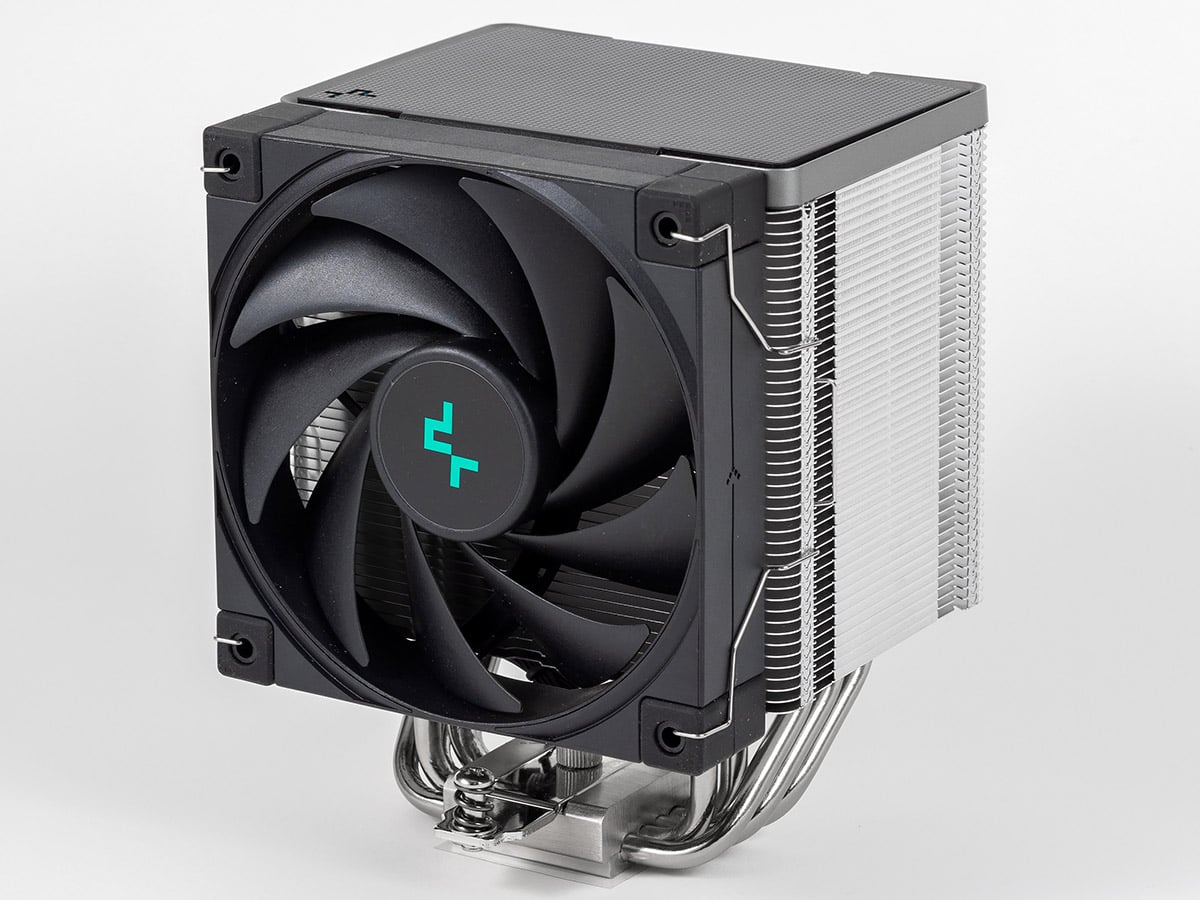
CPU coolers work by transferring heat from the processor through heat pipes to the fins. This entire unit is cooled by a fan, which keeps the processor cool.
Improper installation can definitely damage your motherboard, so take the time to refer to the manual if necessary. By following the steps above, you can successfully install a CPU cooler on your PC without any issues.


![How to set up a Raspberry Pi web server in 2021 [Guide]](https://i0.wp.com/pcmanabu.com/wp-content/uploads/2019/10/web-server-02-309x198.png?w=1200&resize=1200,0&ssl=1)

")


 in Roblox")
")


")


")


")
