Chrome OS currently supports five update channels: Stable, Long Term Support (LTS), LTS Candidate (LTC), Beta, and Development. However, if you want to stay up to date and access features that are still in development, you’ll need to switch to the Canary channel on your Chromebook. Canary channels are more buggy and crash-prone than standard update releases, but ChromeOS allows you to play around with unannounced experimental features. This guide provides step-by-step instructions on how to switch to the Canary channel on your Chromebook.
Here, we’ve added detailed instructions on how to switch to the Canary channel on your Chromebook. We also explained how to exit the Canary channel and return to the stable build in case you don’t like it. With that in mind, let’s move on to the steps. 
Turn on developer mode in ChromeOS
To switch to the canary channel, you must first turn on developer mode on your Chromebook. Note that developer mode is different from developer channel. Developer mode relaxes most security settings so you can debug apps and easily tinker with Chrome OS.
Additionally, you can enter developer mode from any Chrome OS channel, including stable, beta, and development. However, enabling developer mode will erase your local files, so be sure to back up any important files. That aside, let’s take a look at the steps.
1. Make sure your Chromebook has enough charge left. Now press the “ Esc + Refresh + Power ” buttons at once. This will bring you to the “Recovery” screen. You can perform this operation whether your Chromebook is on or off.
2. Next, use the “ Ctrl + D ” shortcut and you will be asked if you want to enable “Developer Mode”. Press “ Enter ” to confirm.
3. Your Chromebook will now be reset and developer mode will be enabled. This process can take up to 10-15 minutes , so please be patient. If you see the message “OS verification is off” on your screen, wait until you hear a beep. After that, the reset process will begin. You can also instantly bypass it by pressing “Ctrl + D” again.
4. Once complete, your Chromebook will restart and return to onboarding settings . Enter your email address and set everything up as usual.
5. Please note that a warning screen will appear for about 30 seconds each time you enable developer mode and restart your Chromebook. My laptop also beeps. To skip, press “Ctrl + D” and continue the boot process normally. 
Switch to canary channel on Chromebook
1. Once everything is configured, press Ctrl + Alt + T to open the Crosh terminal. Crosh allows you to tinker with the ChromeOS layers and change several system-level and security settings.
2. Once here, paste the command below and press Enter. Press y and press Enter again to confirm the operation. This changes the default update stream to the canary channel .
live_in_a_coal_mine 3. Next, you need to update your Chromebook. To do so, open Settings (using the gear icon) from the Quick Settings panel in the bottom right corner.
4. Next, go to About ChromeOS under Details in the left sidebar and click Check for Updates in the right panel. The device will start downloading the latest build from the canary channel.
5. Once the update is installed, restart your Chromebook and it will switch to the Canary channel. You can now try out features like the new Material You theme being tested on your Chromebook . 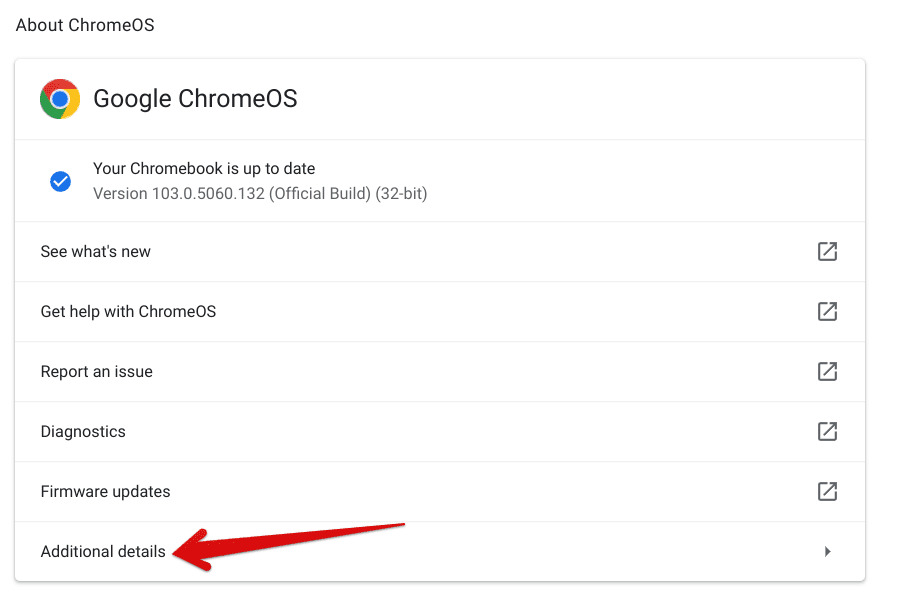
How to exit the canary channel and move to Chromebook stable builds
1. To leave the canary channel on your Chromebook, you need to open the Crosh terminal. To do so, press ” Ctrl + Alt + T “.
Note: This process will delete all local data, so please create a backup before proceeding.
2. Then enter the following commands one by one: This will cause ChromeOS to leave the canary and move to the Stable channel.
 shell
update_engine_client --channel=stable-channel -update
3. Next, go to the About ChromeOS page in Settings and you’ll see that the stable build has already started downloading. Then restart your Chromebook.
4. Your laptop will display a warning screen during the boot process because developer mode is still on. So, press the “ Space ” key to turn off developer mode and re-enable OS verification. After the reset process, your Chromebook will start up normally.
This is how to go to the Canary channel on your Chromebook. Well, this process is a bit tedious since it’s not for general users. However, if you tend to test new experimental features, you can move to the ChromeOS Canary channel. However, if you’re looking for how to install Windows 11 on your Chromebook, head on over to our detailed tutorial. We have a curated list of the best Chromebook emulators. Anyway, that’s it from us. If you encounter any issues, please let us know in the comments section below.


![How to set up a Raspberry Pi web server in 2021 [Guide]](https://i0.wp.com/pcmanabu.com/wp-content/uploads/2019/10/web-server-02-309x198.png?w=1200&resize=1200,0&ssl=1)

")


 in Roblox")
")


")


")


")
